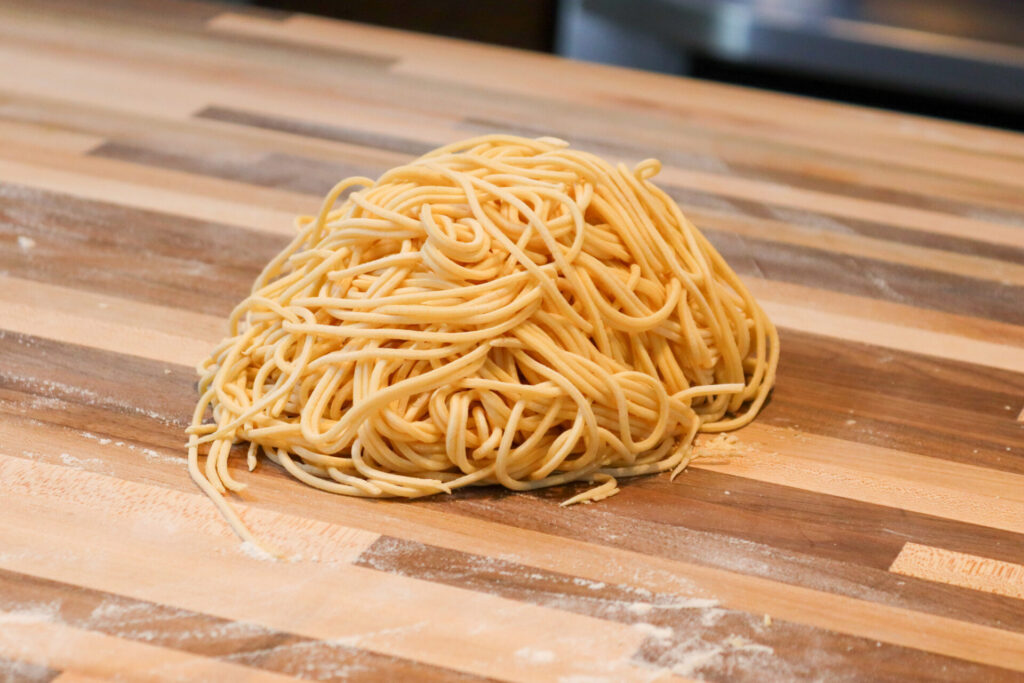
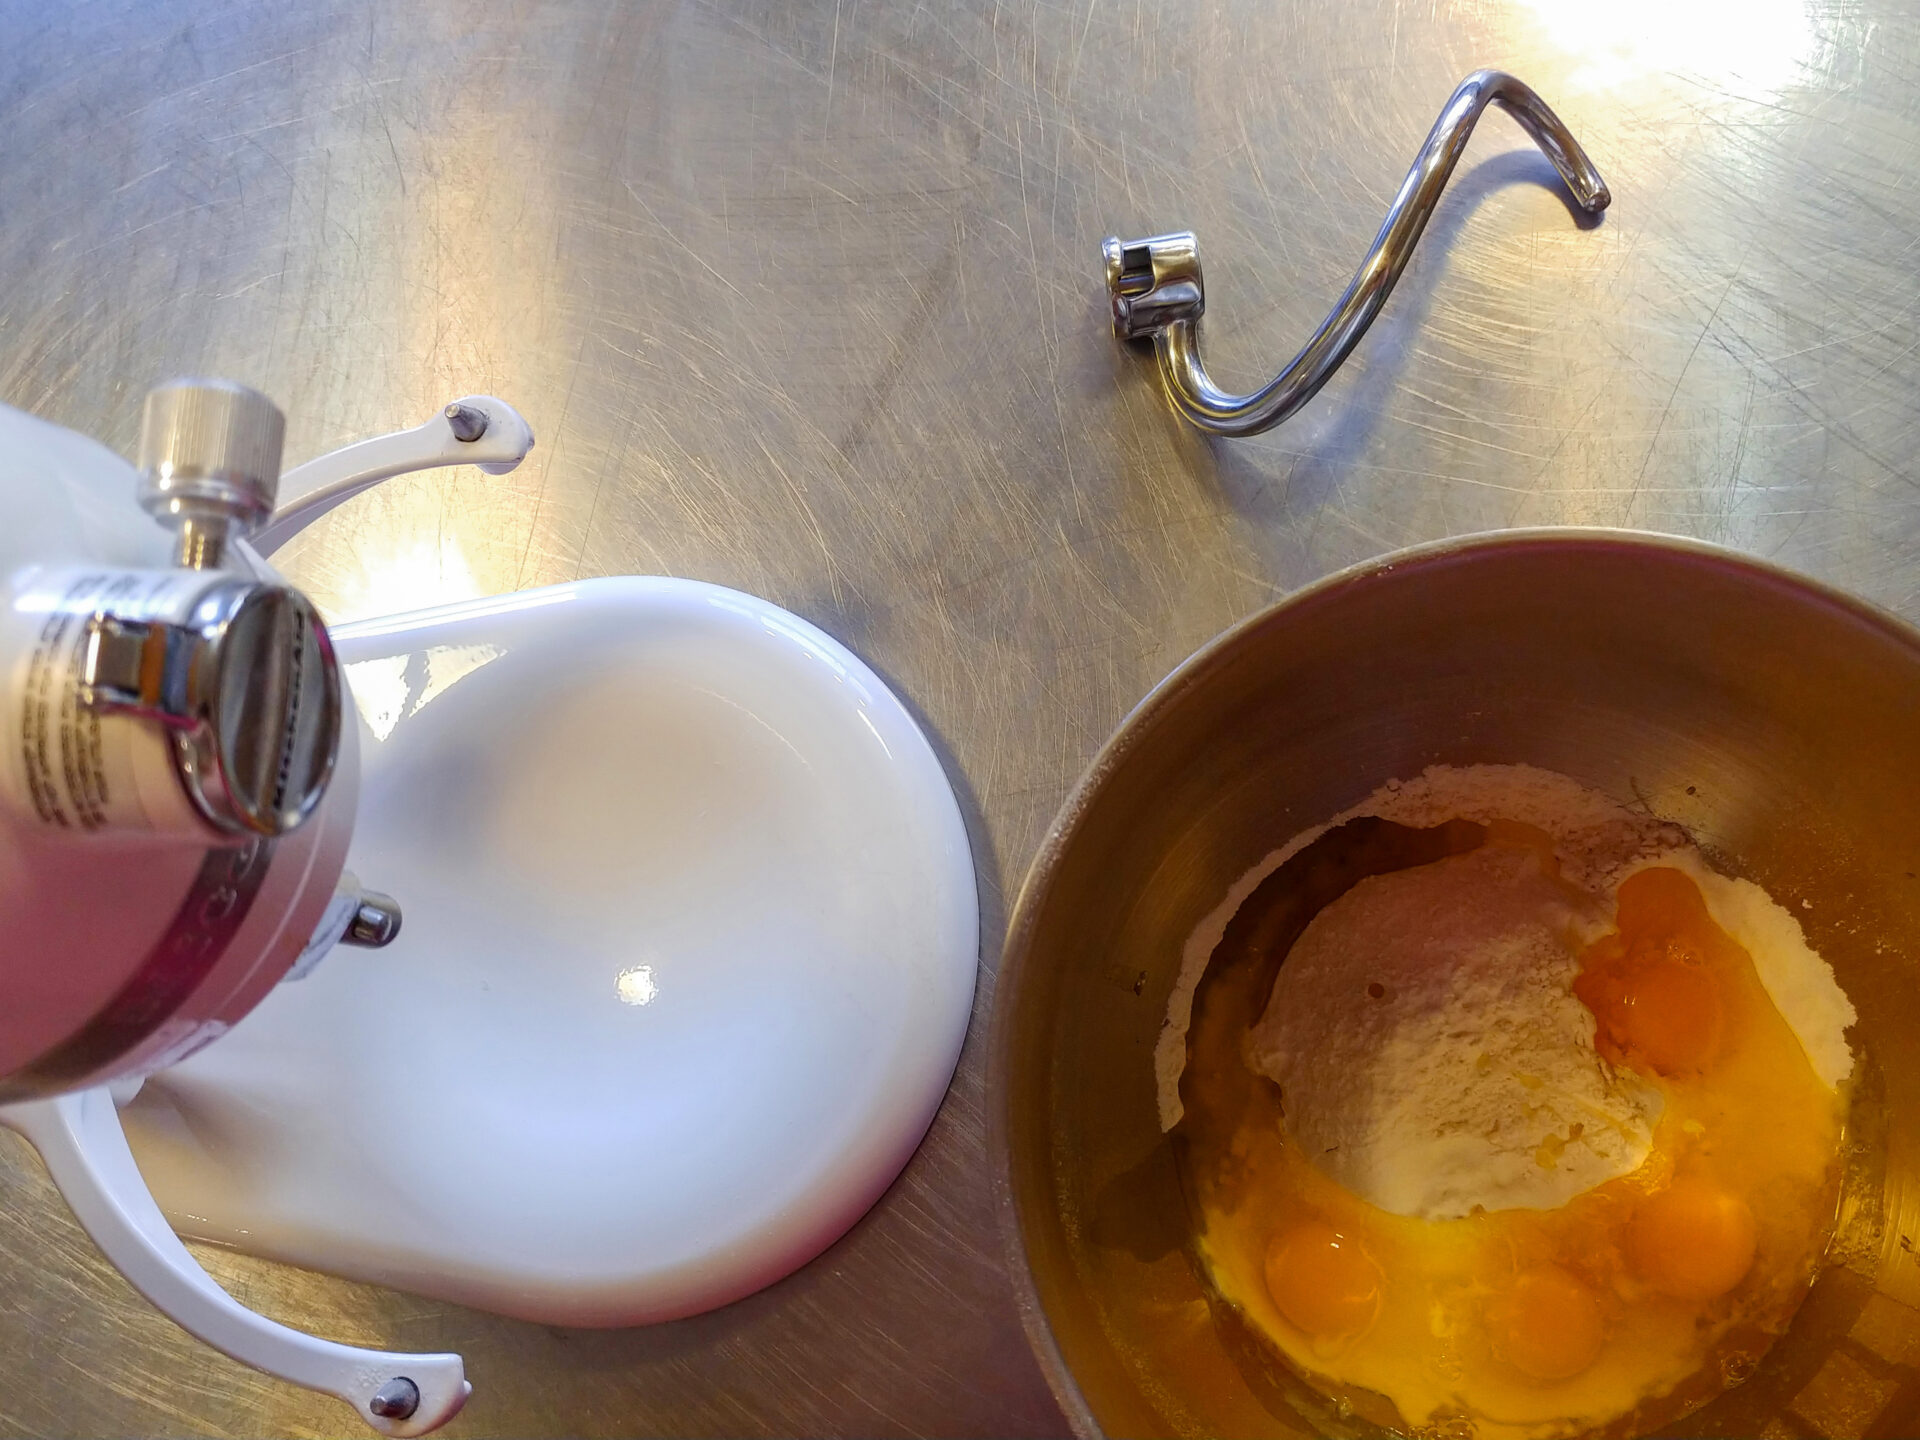
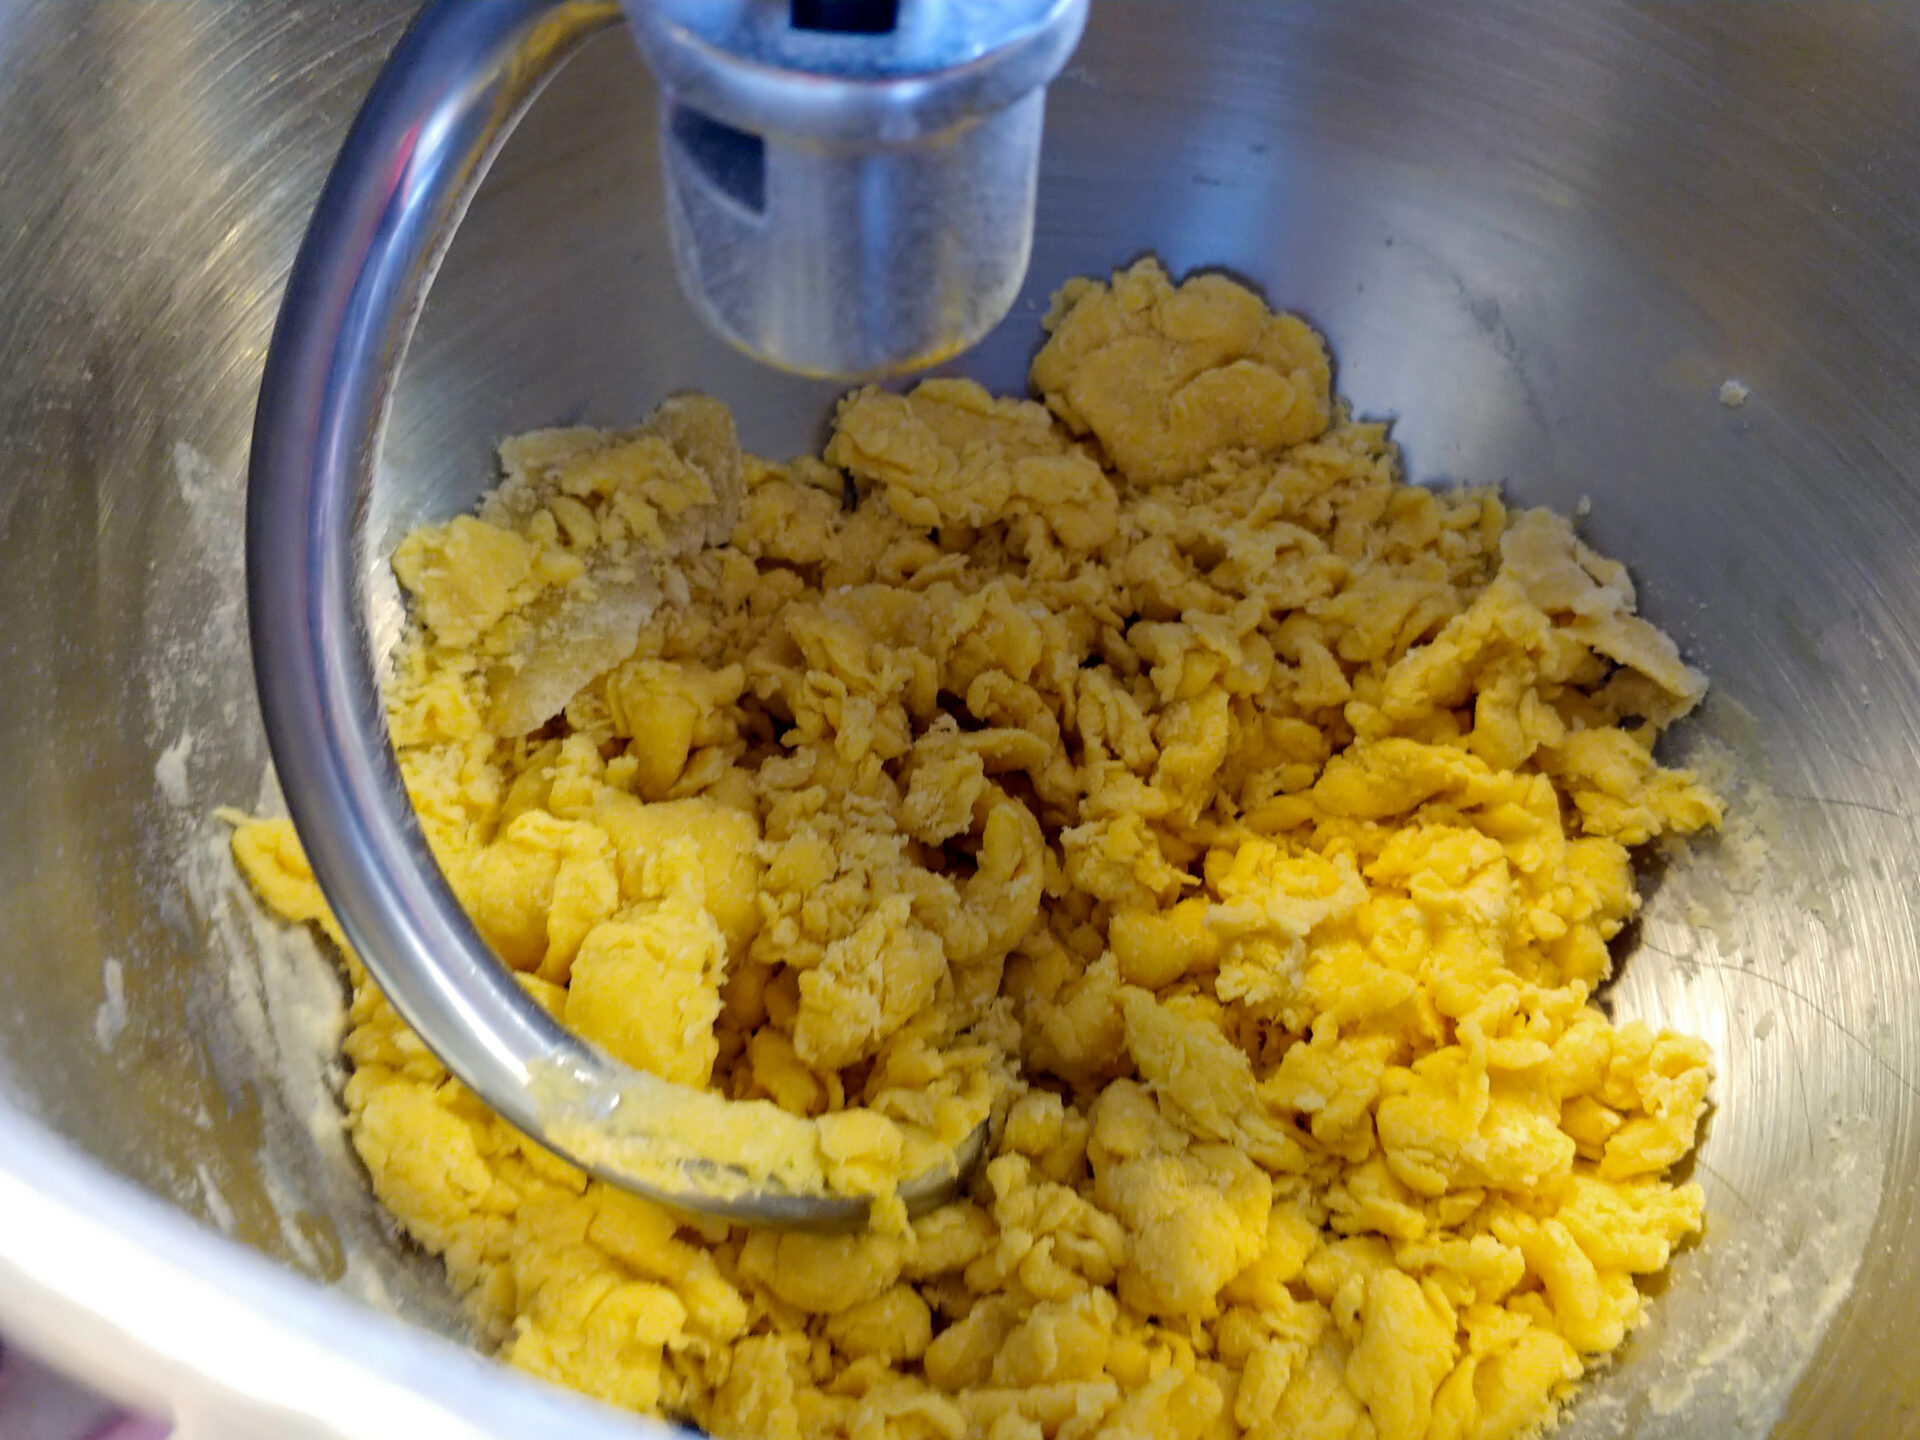
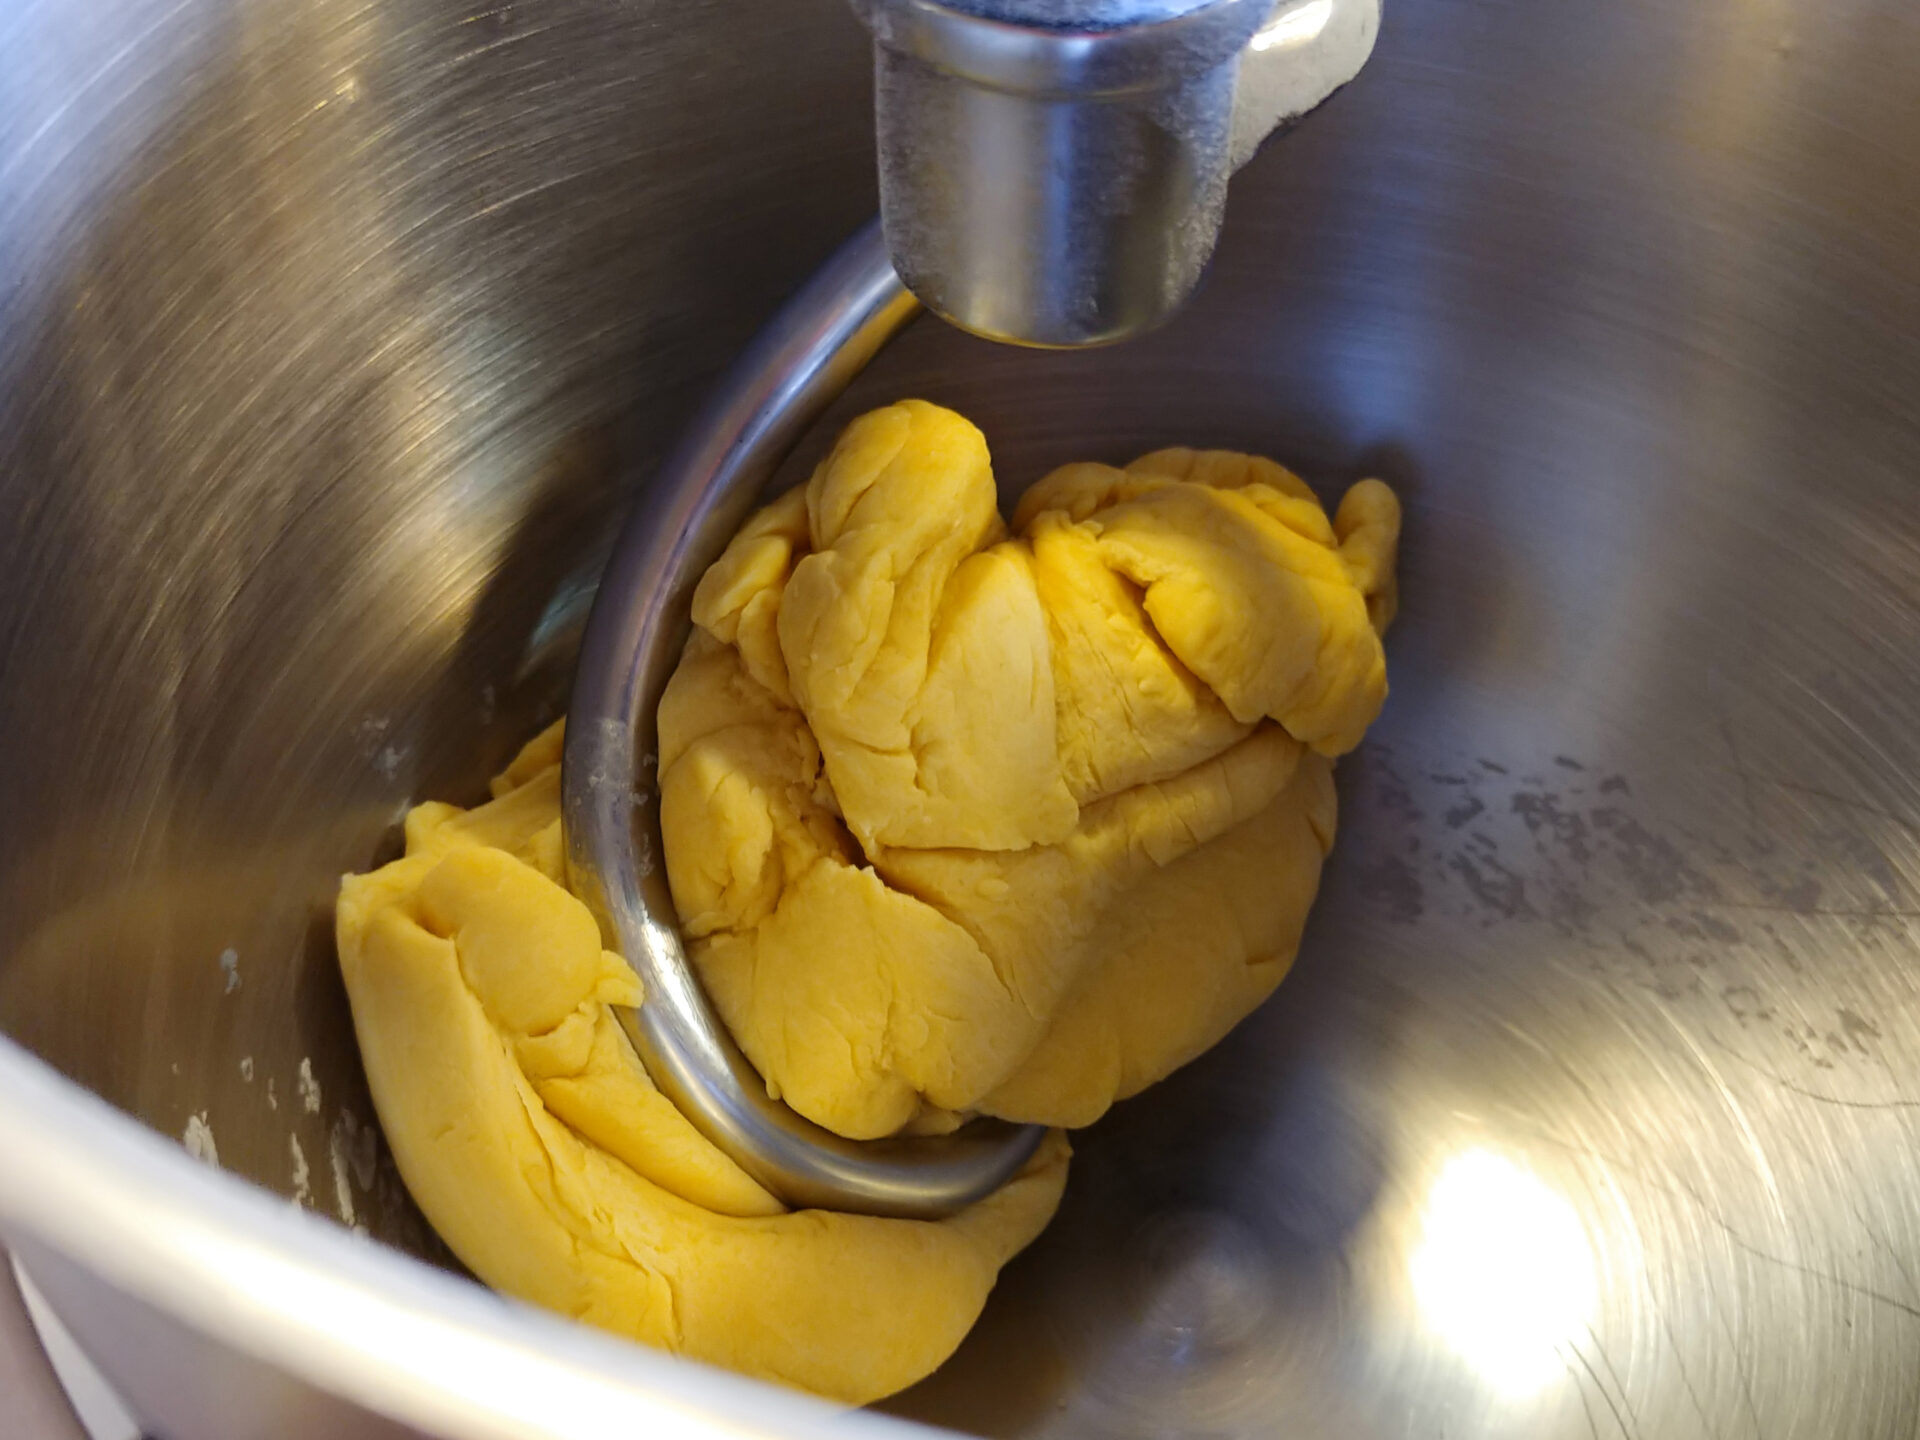
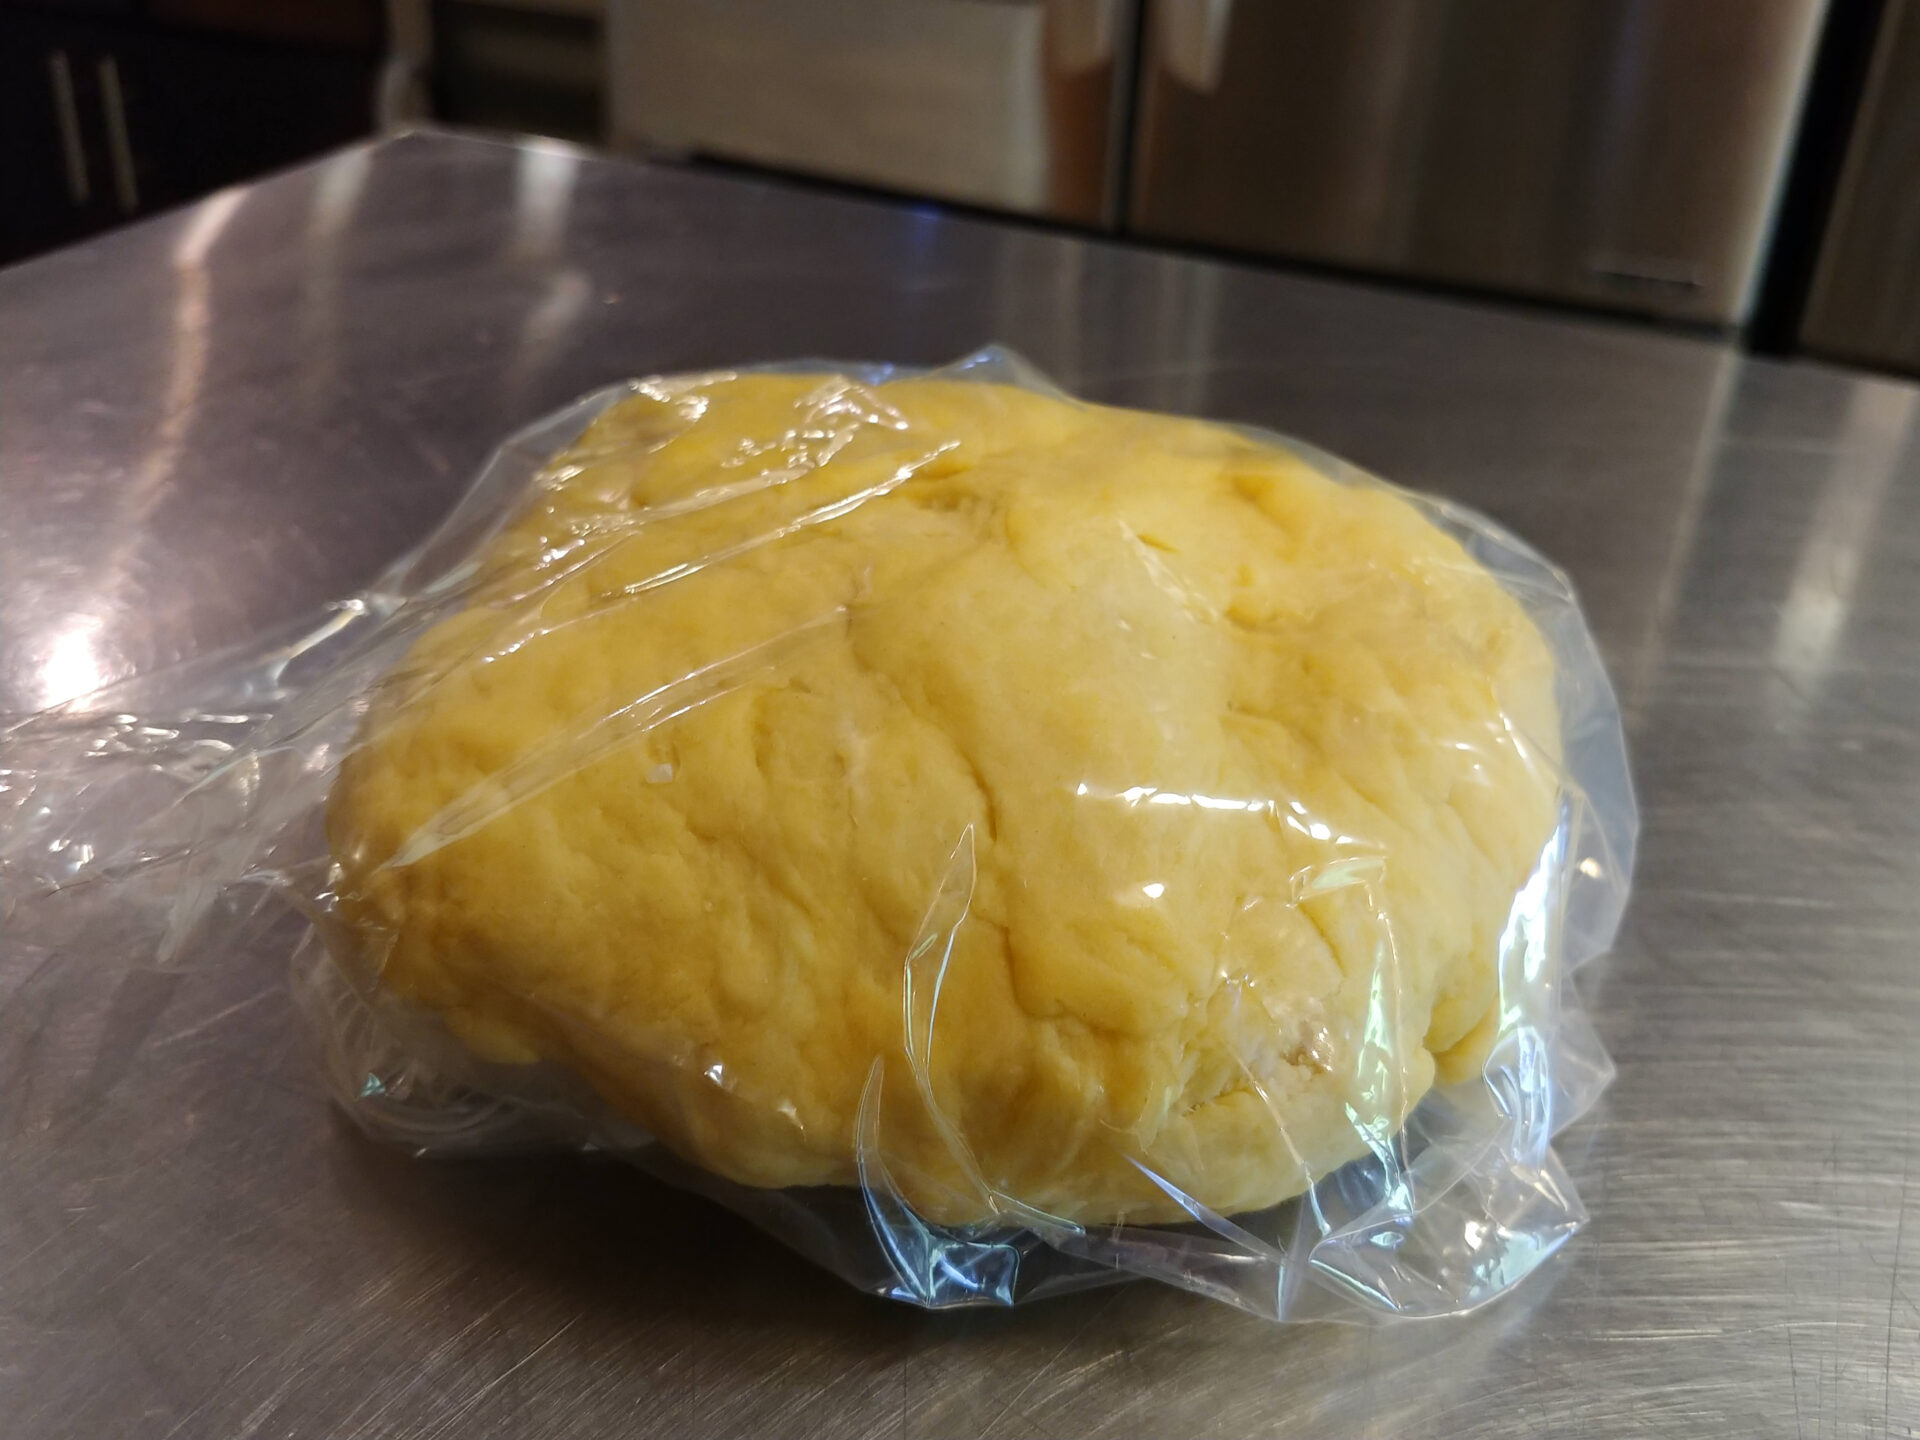
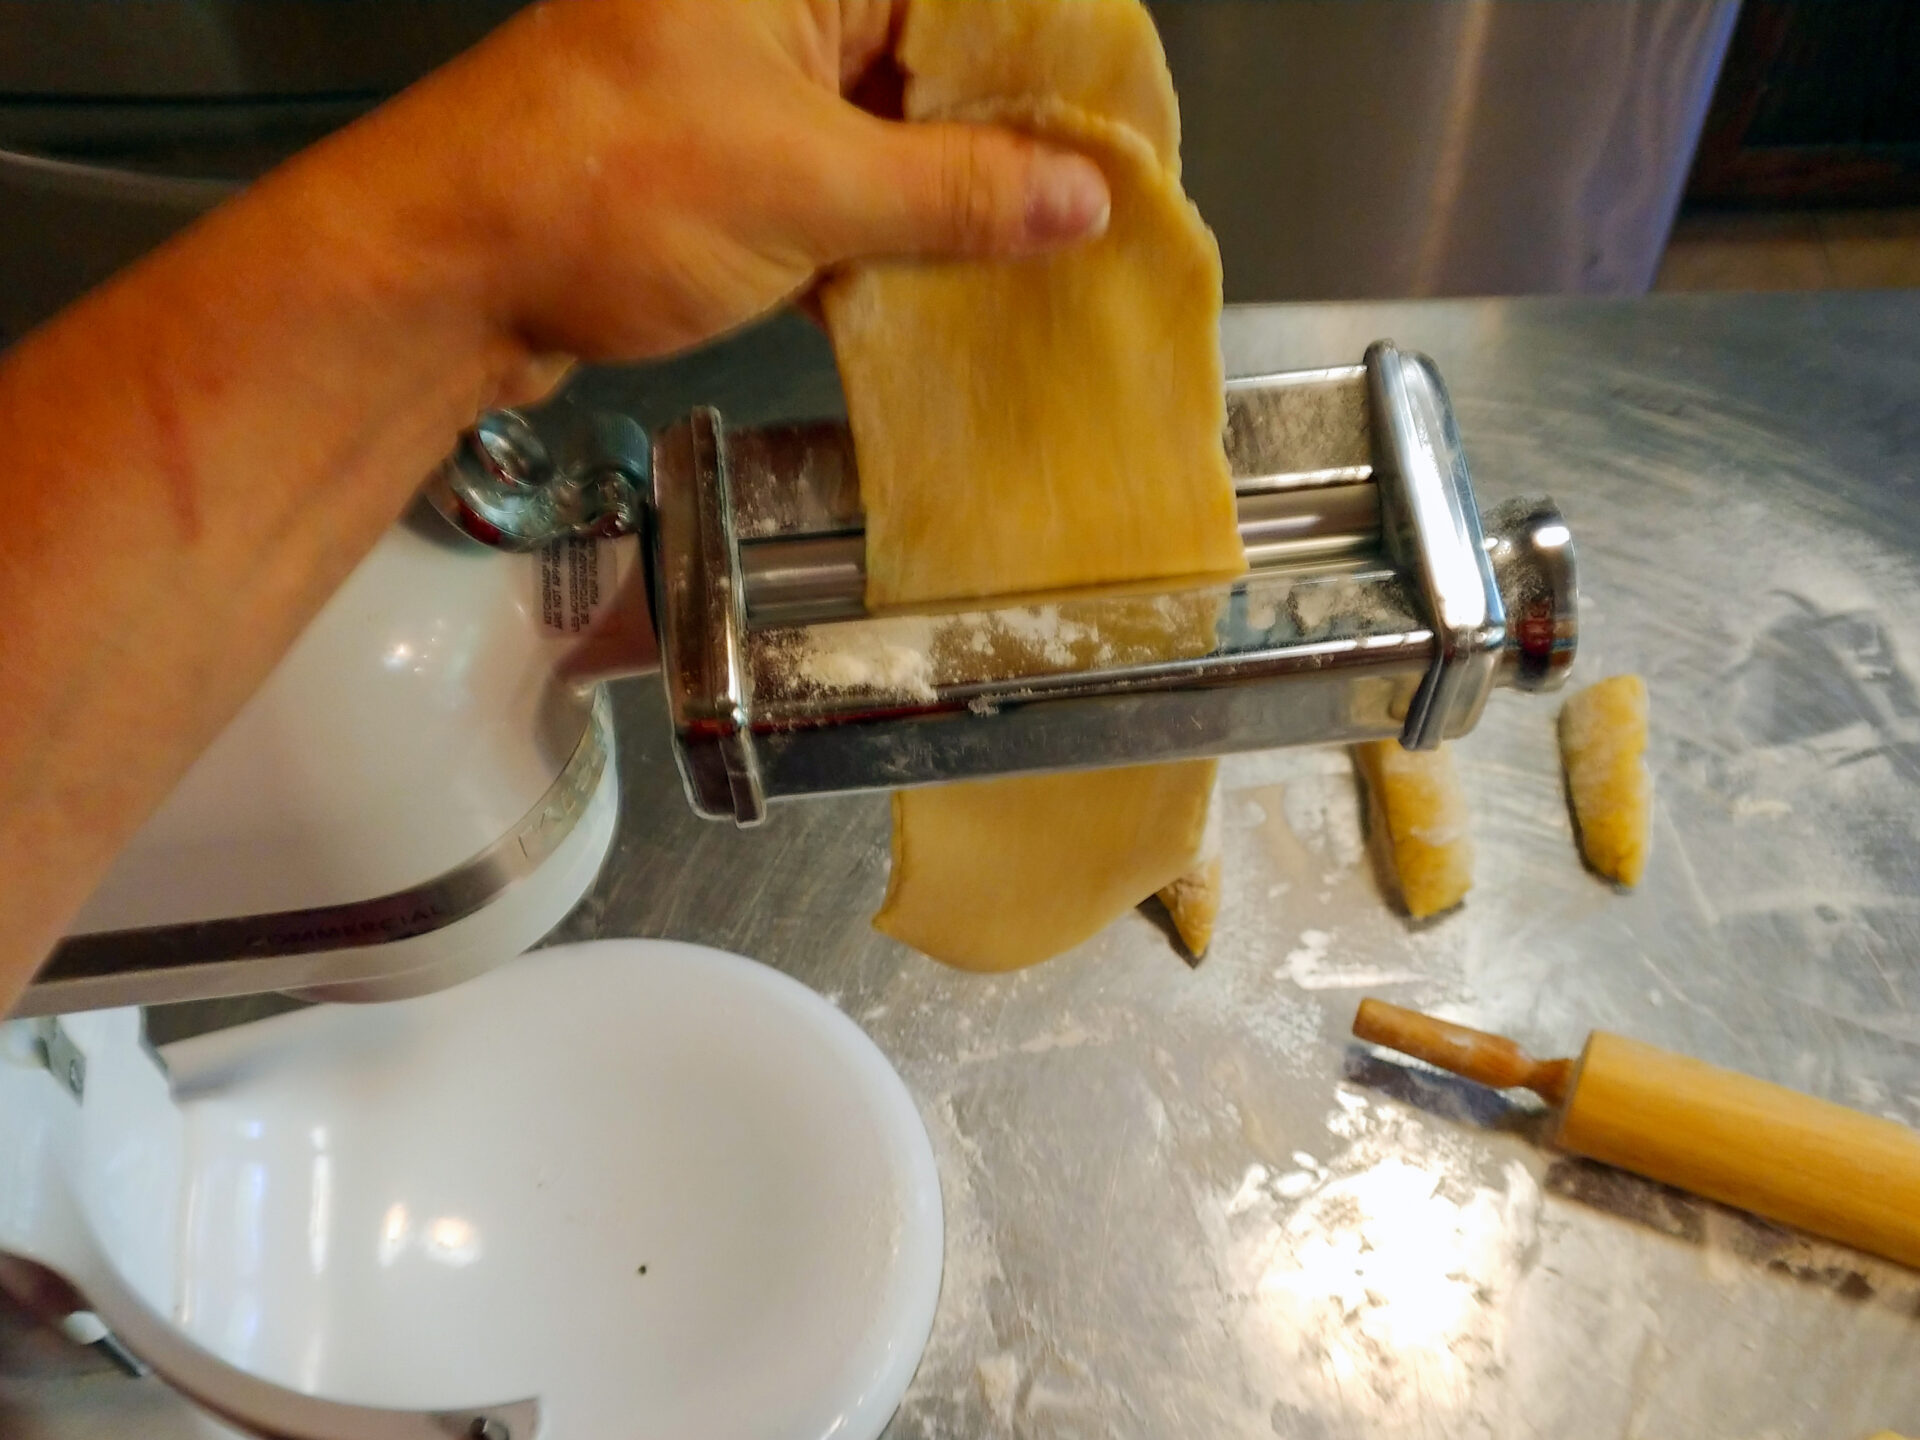
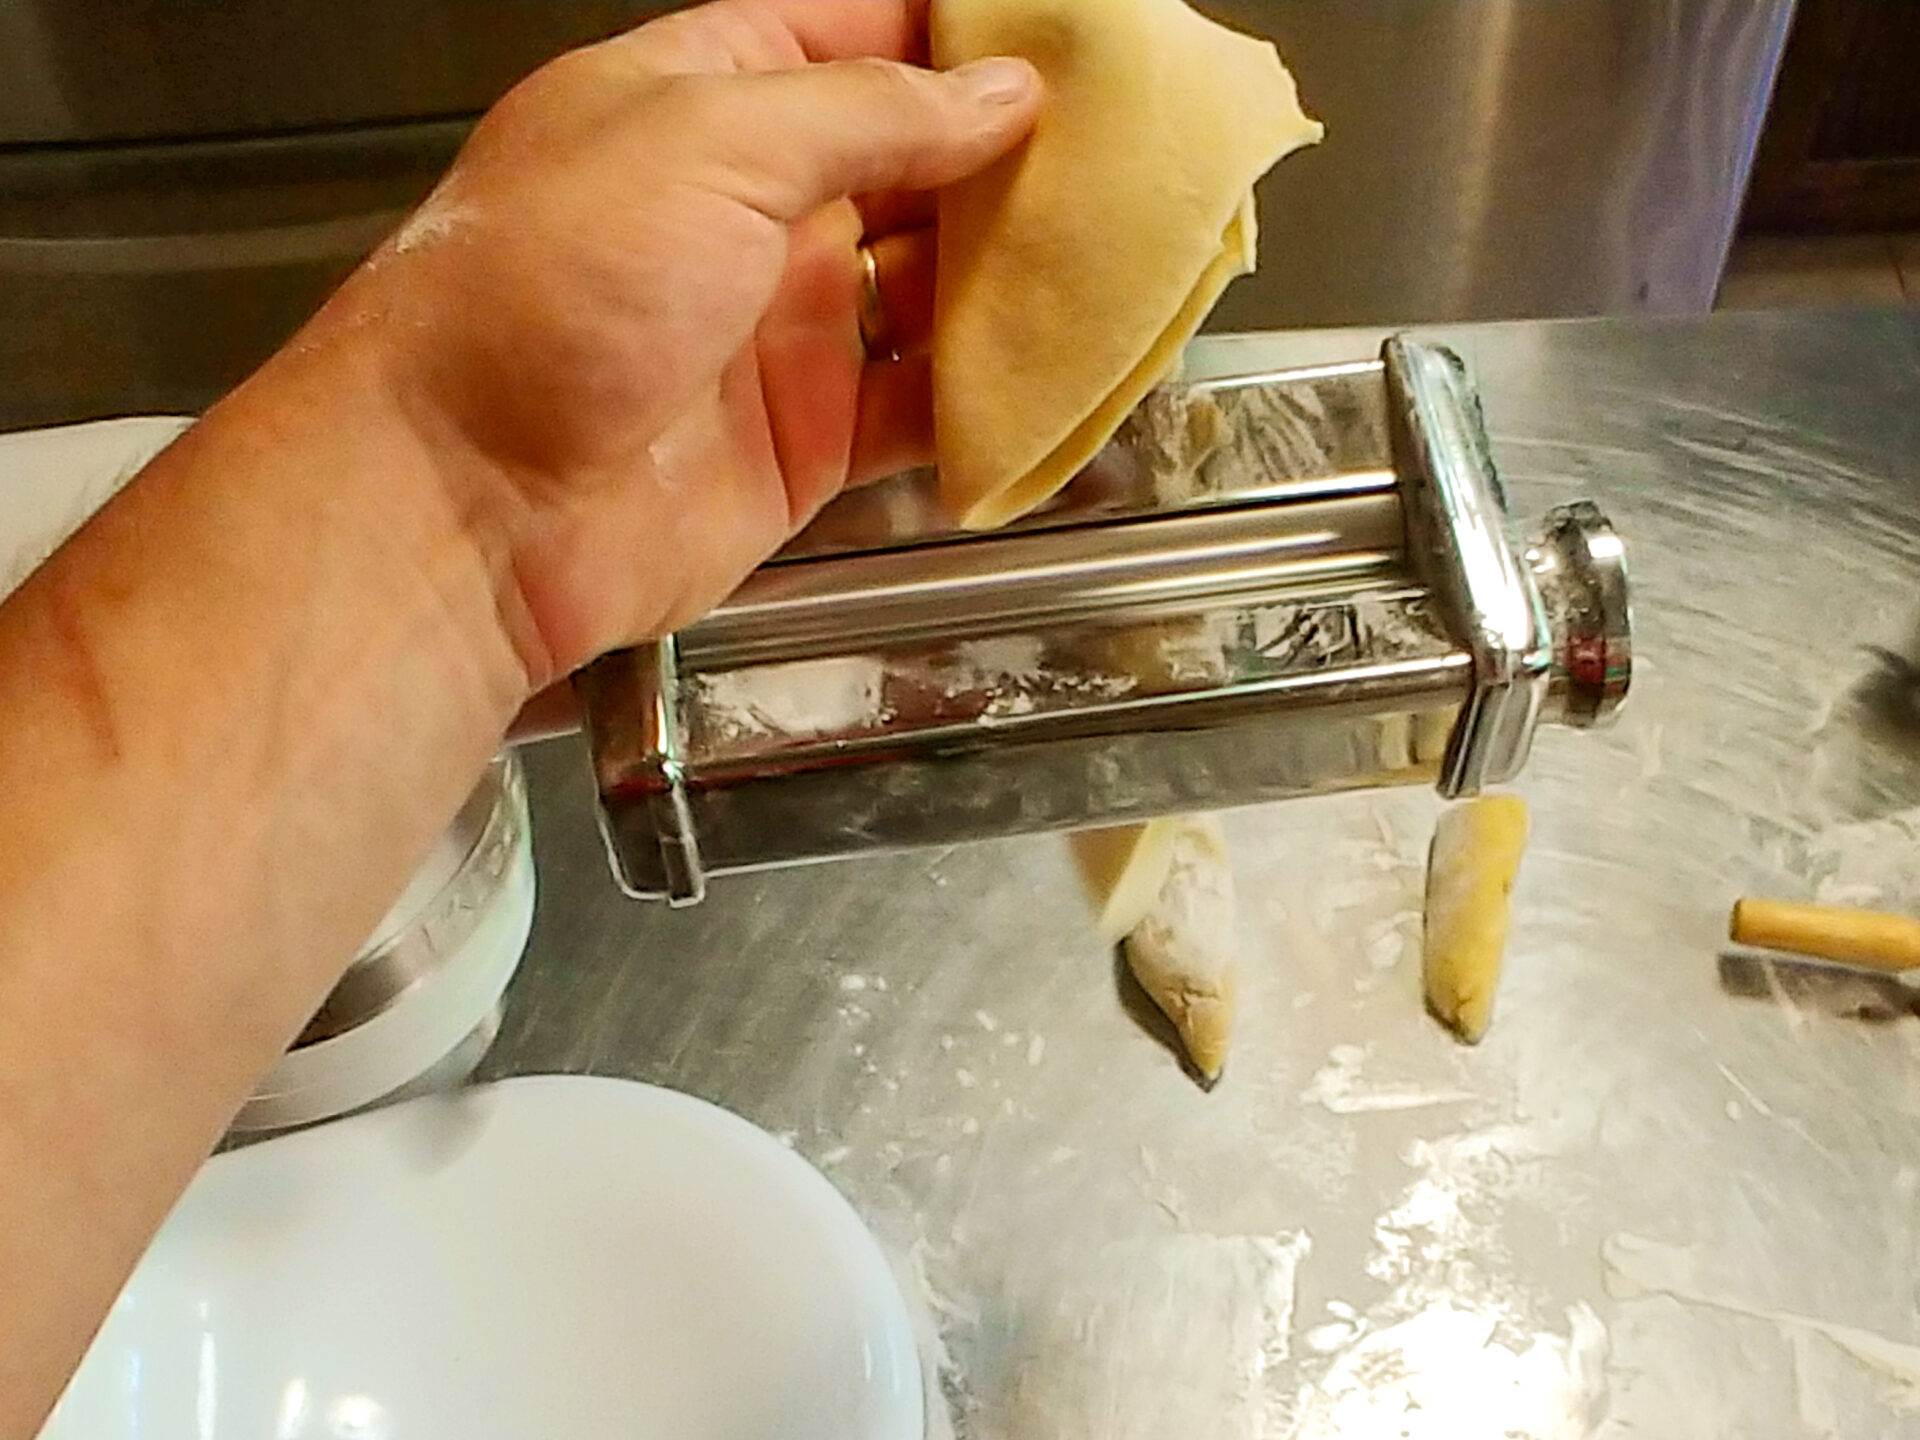
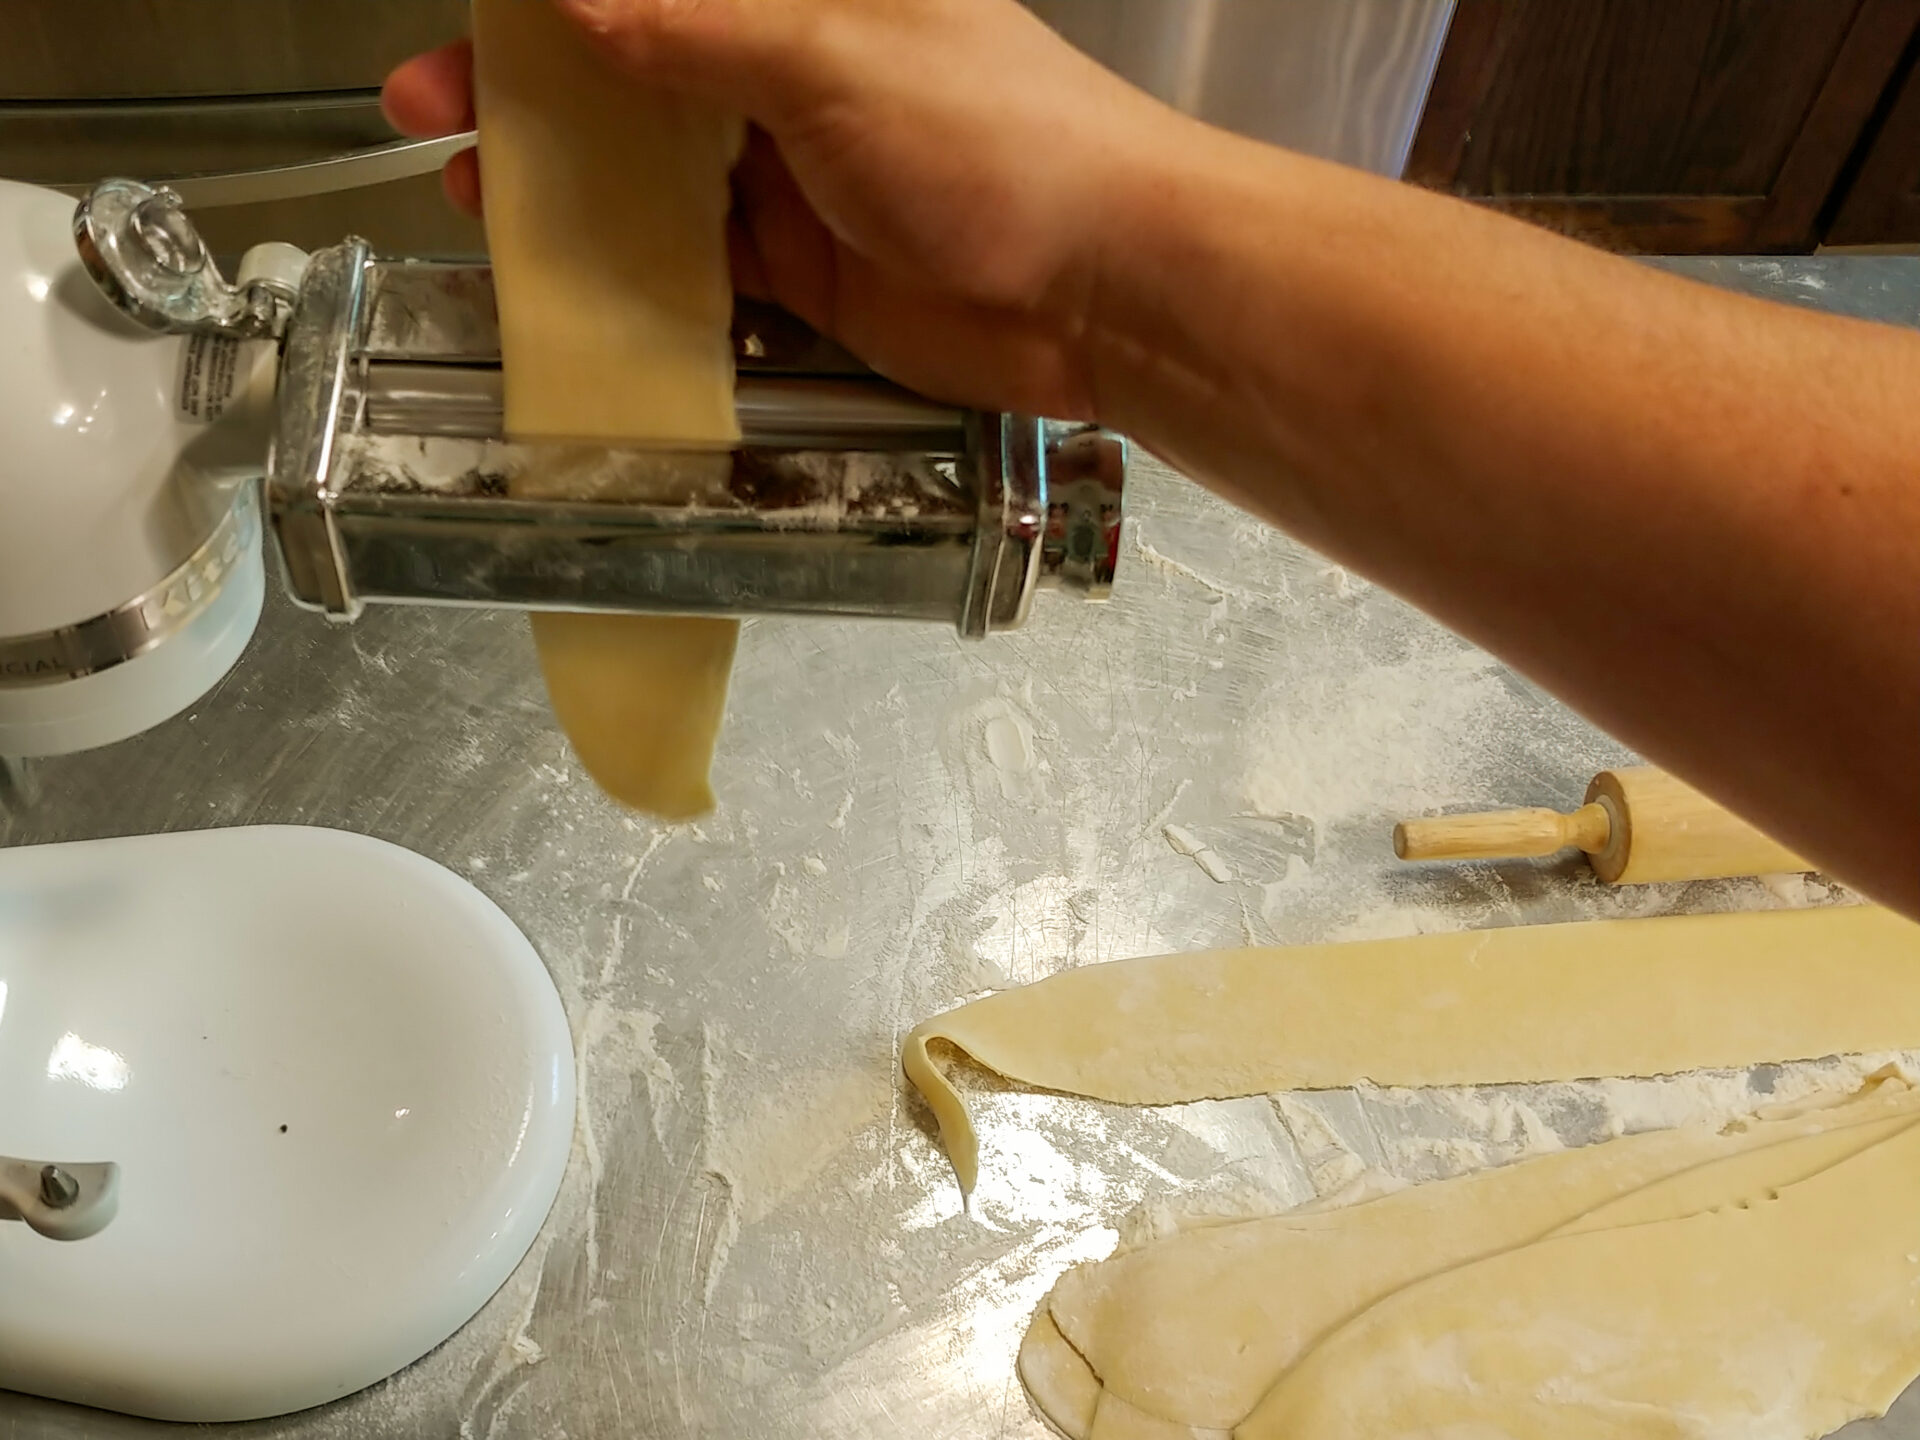
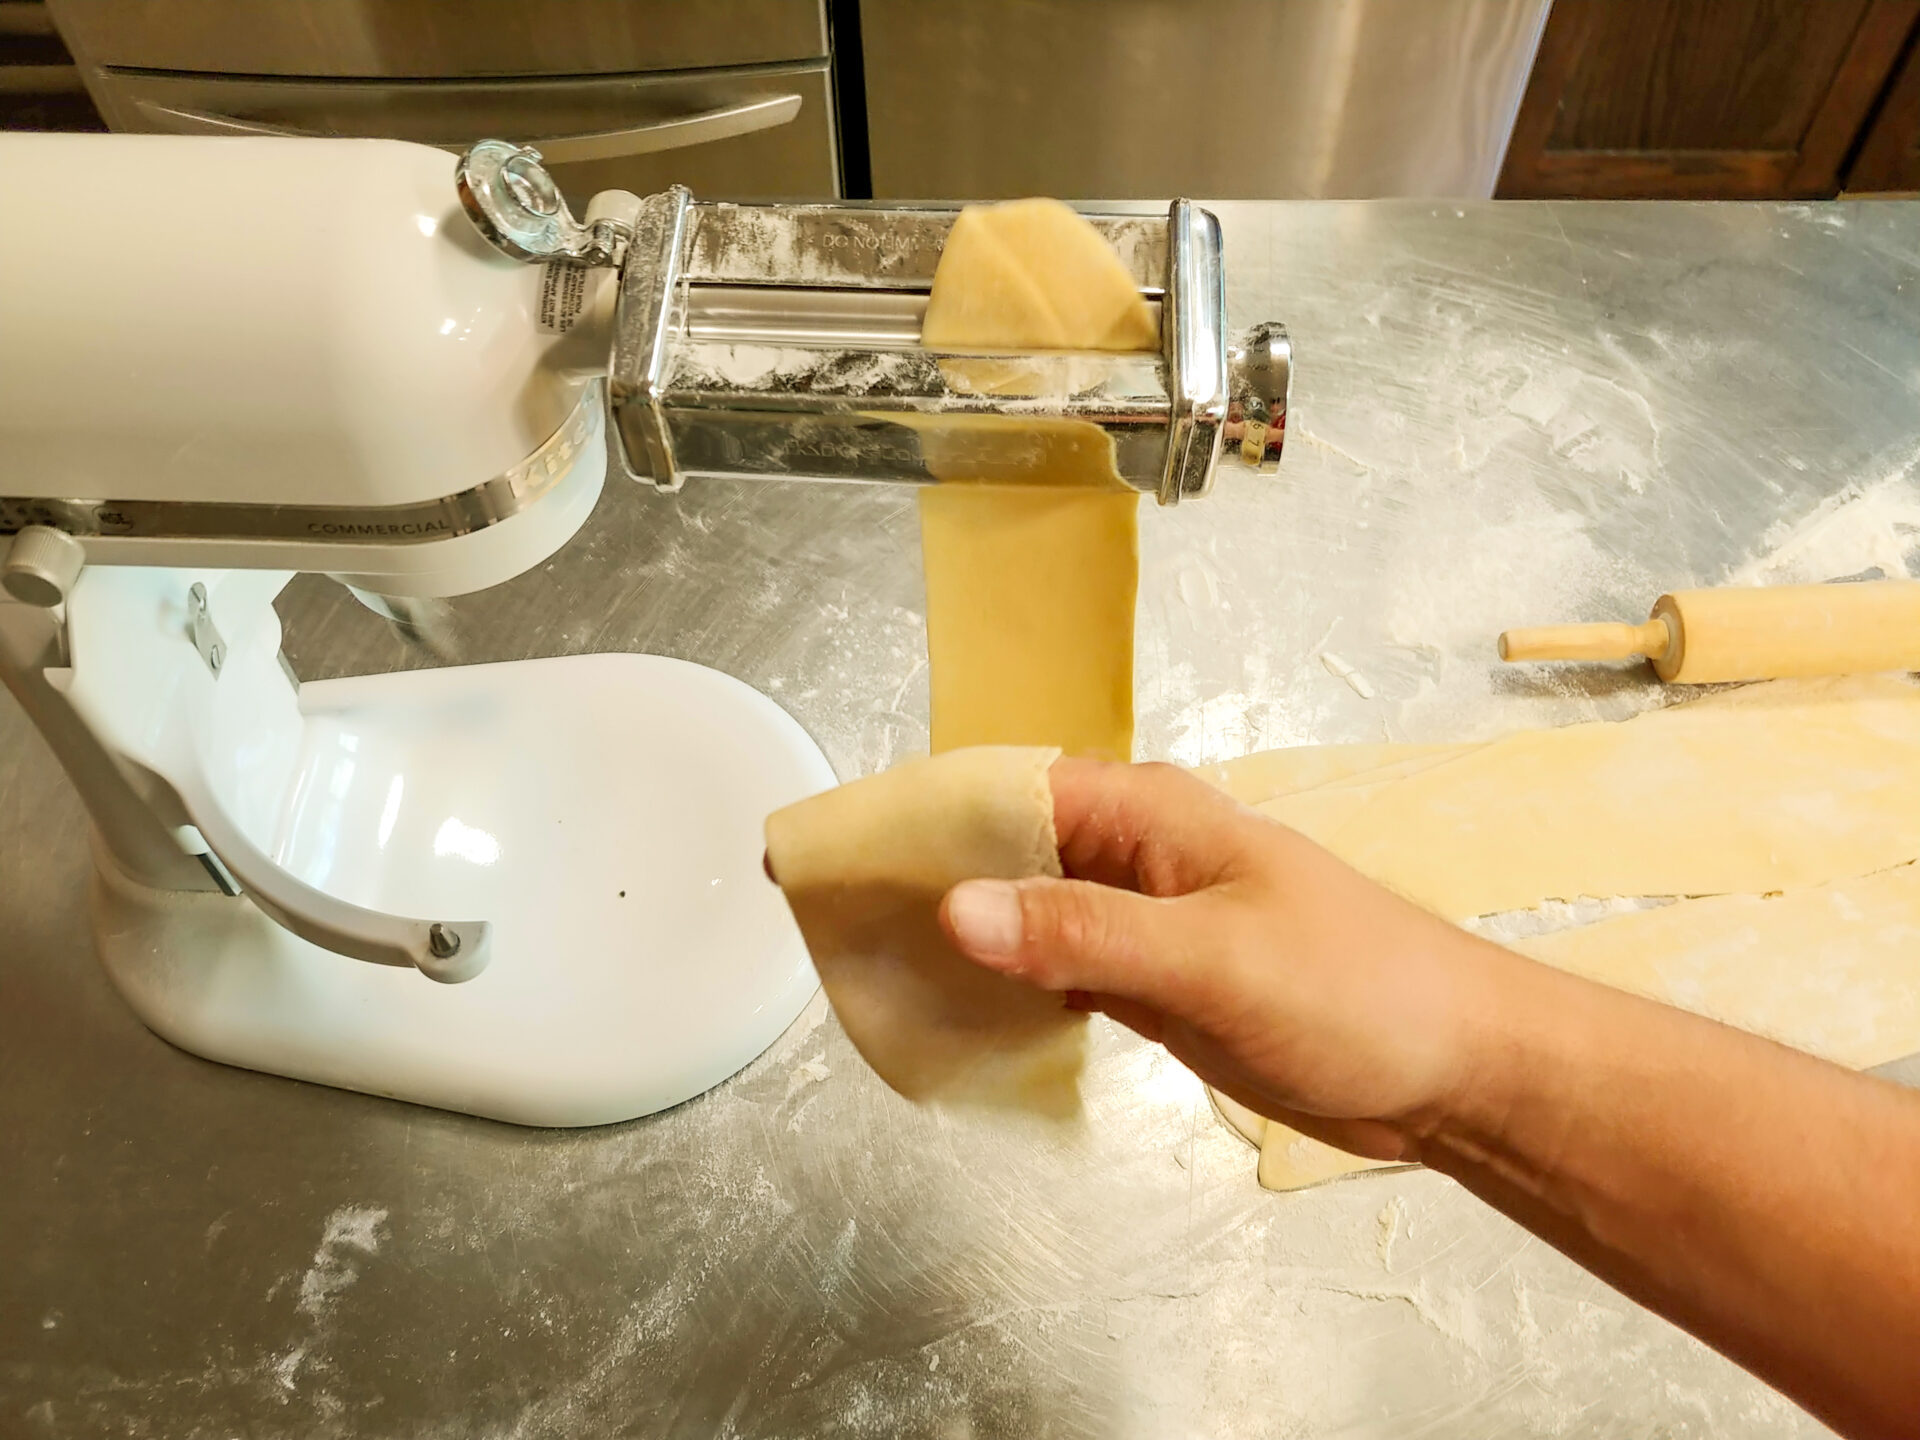
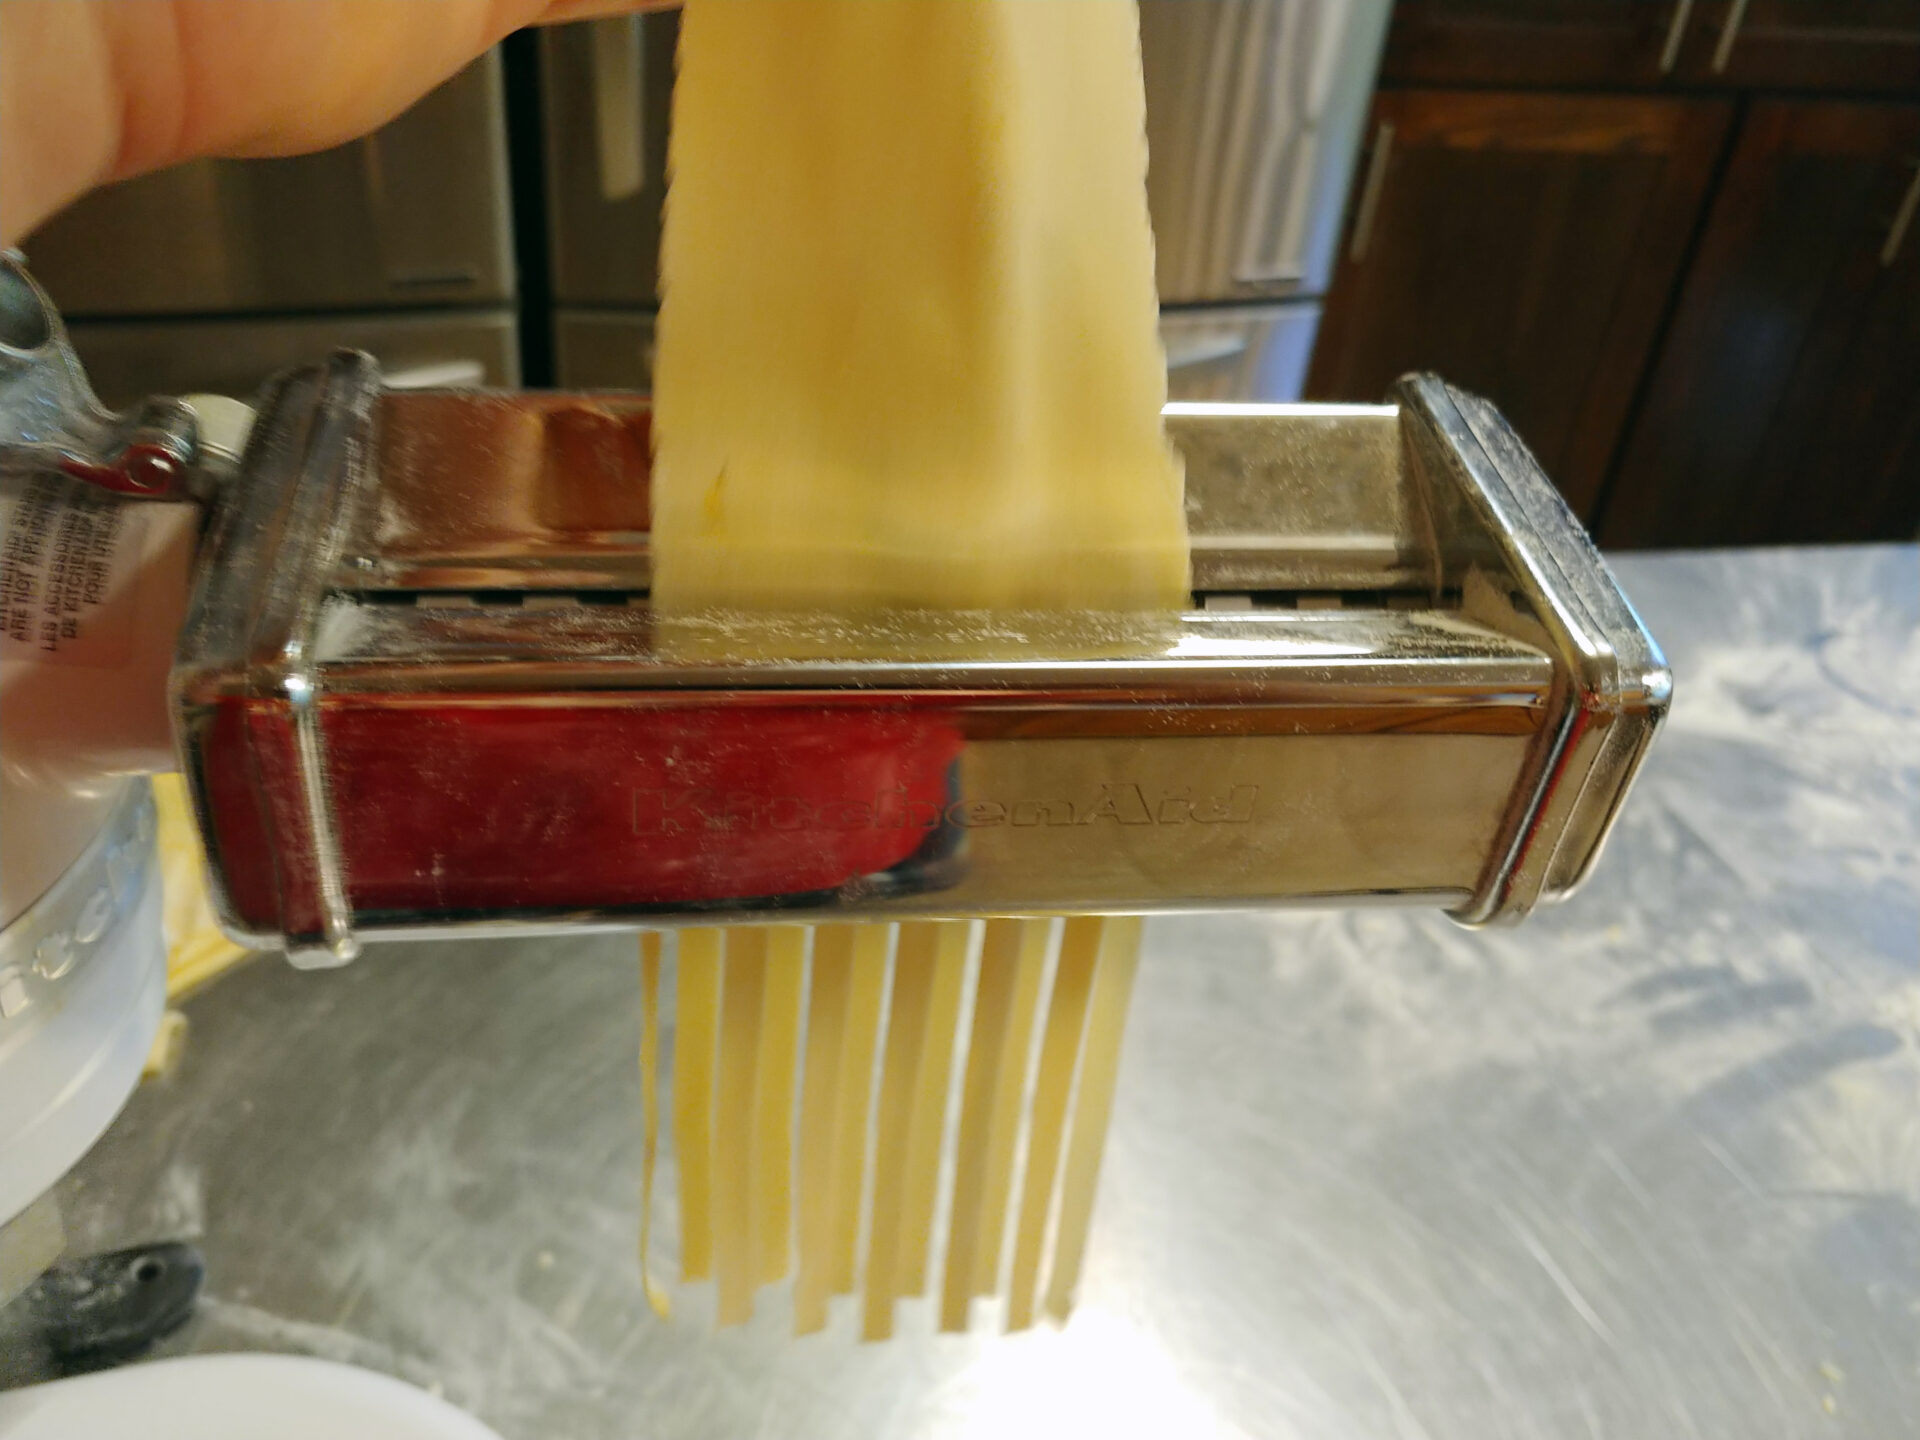
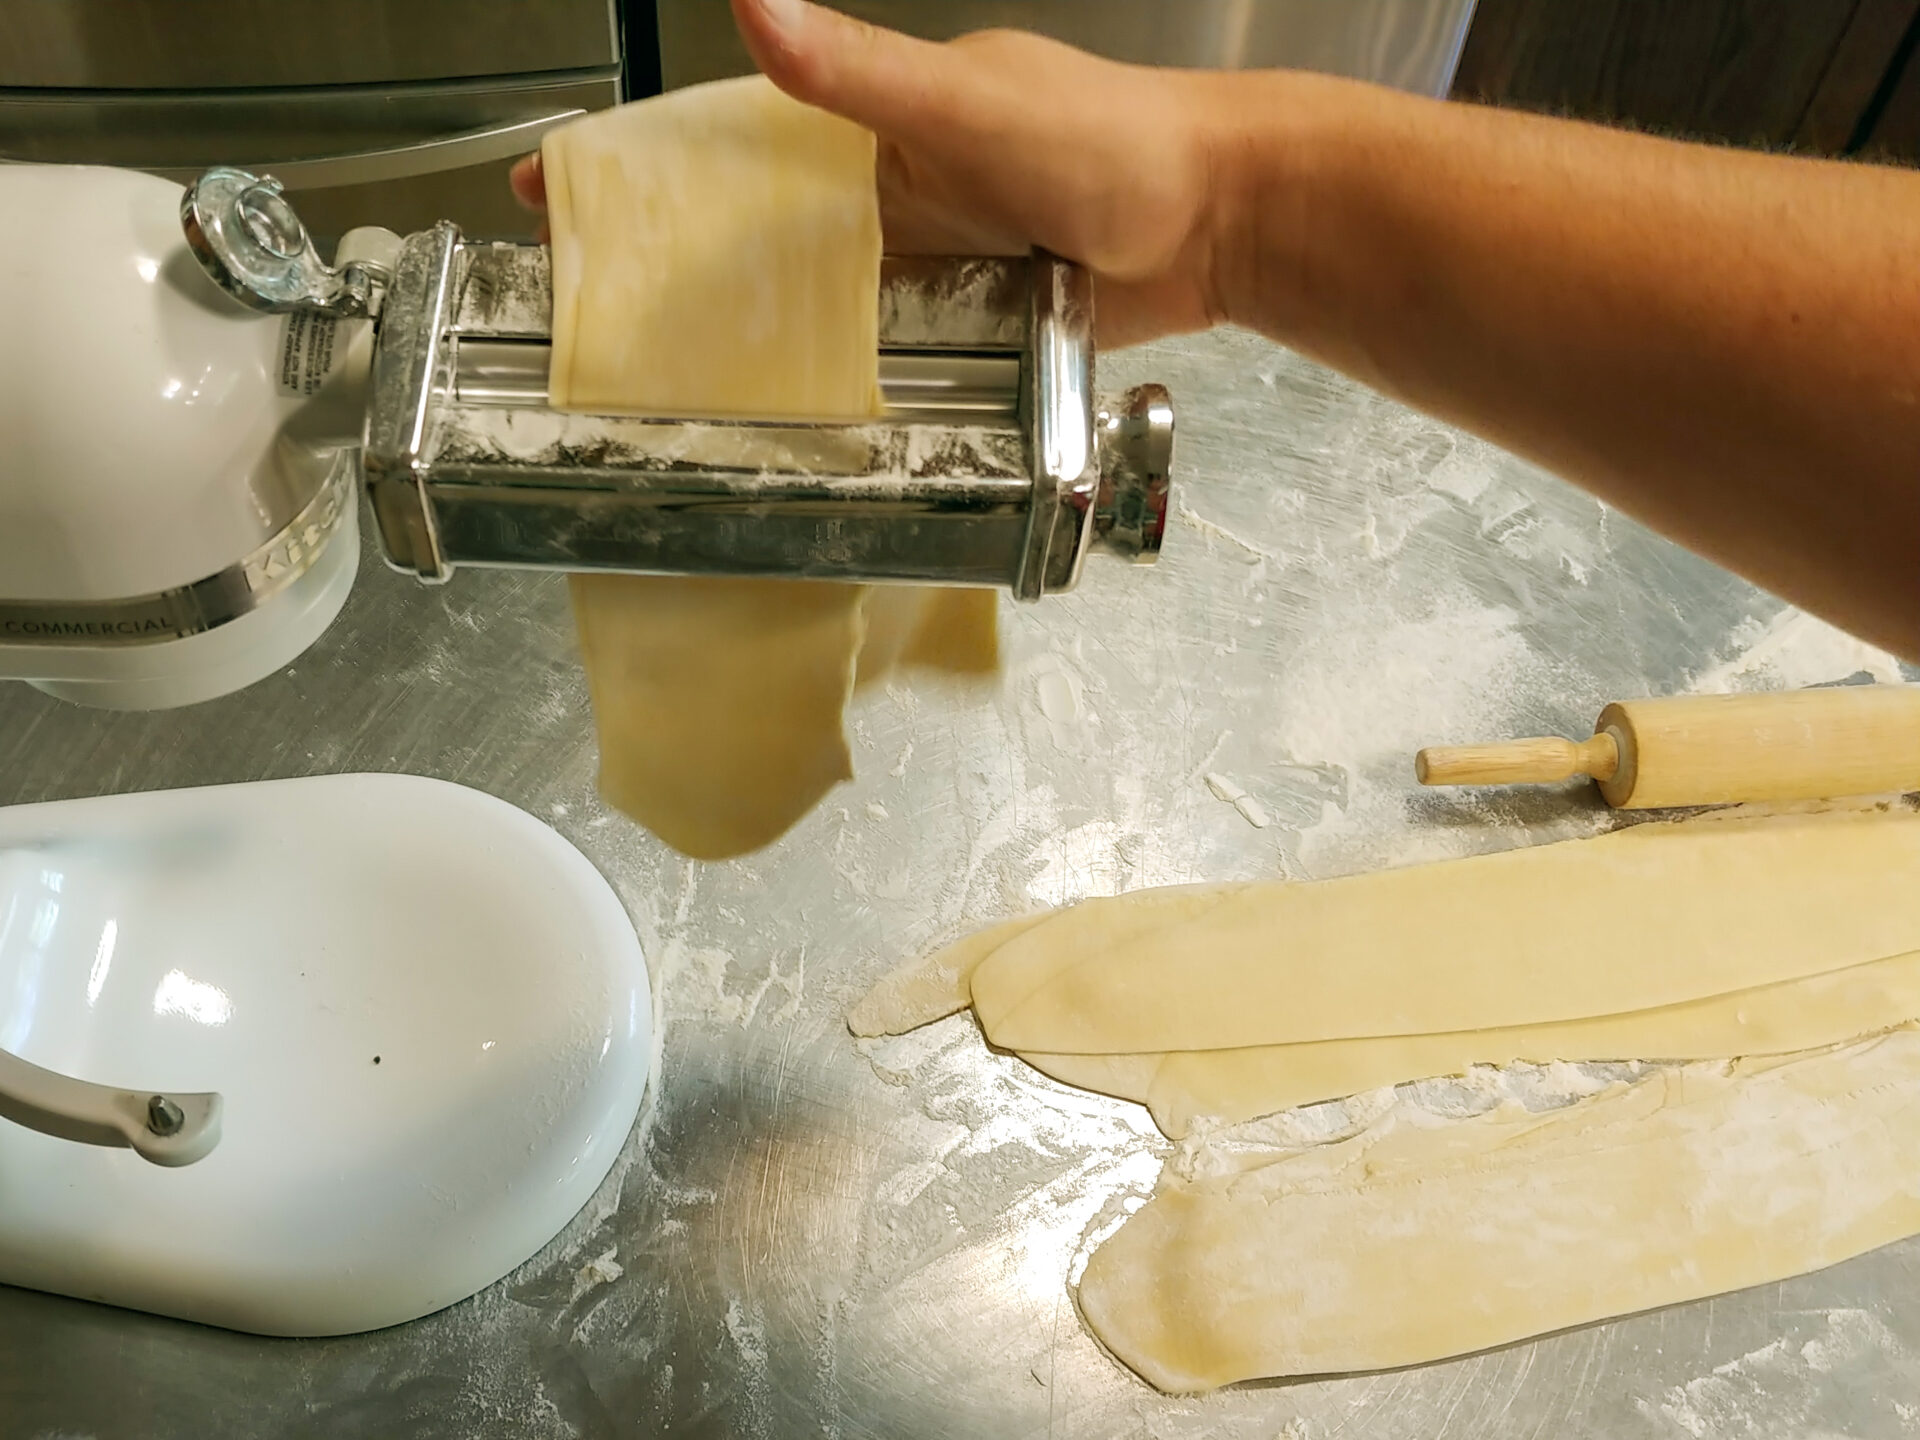
There is nothing better than fresh homemade pasta from scratch. And you will be pleasantly surprised that it doesn’t take much more time than cooking store-bought pasta. The cooking time of homemade pasta is usually just a minute or two!
This recipe can be used for:
● Any kind of pasta
● Includes also lasagna, tortellini, ravioli
● Noodles for soups
● And more!
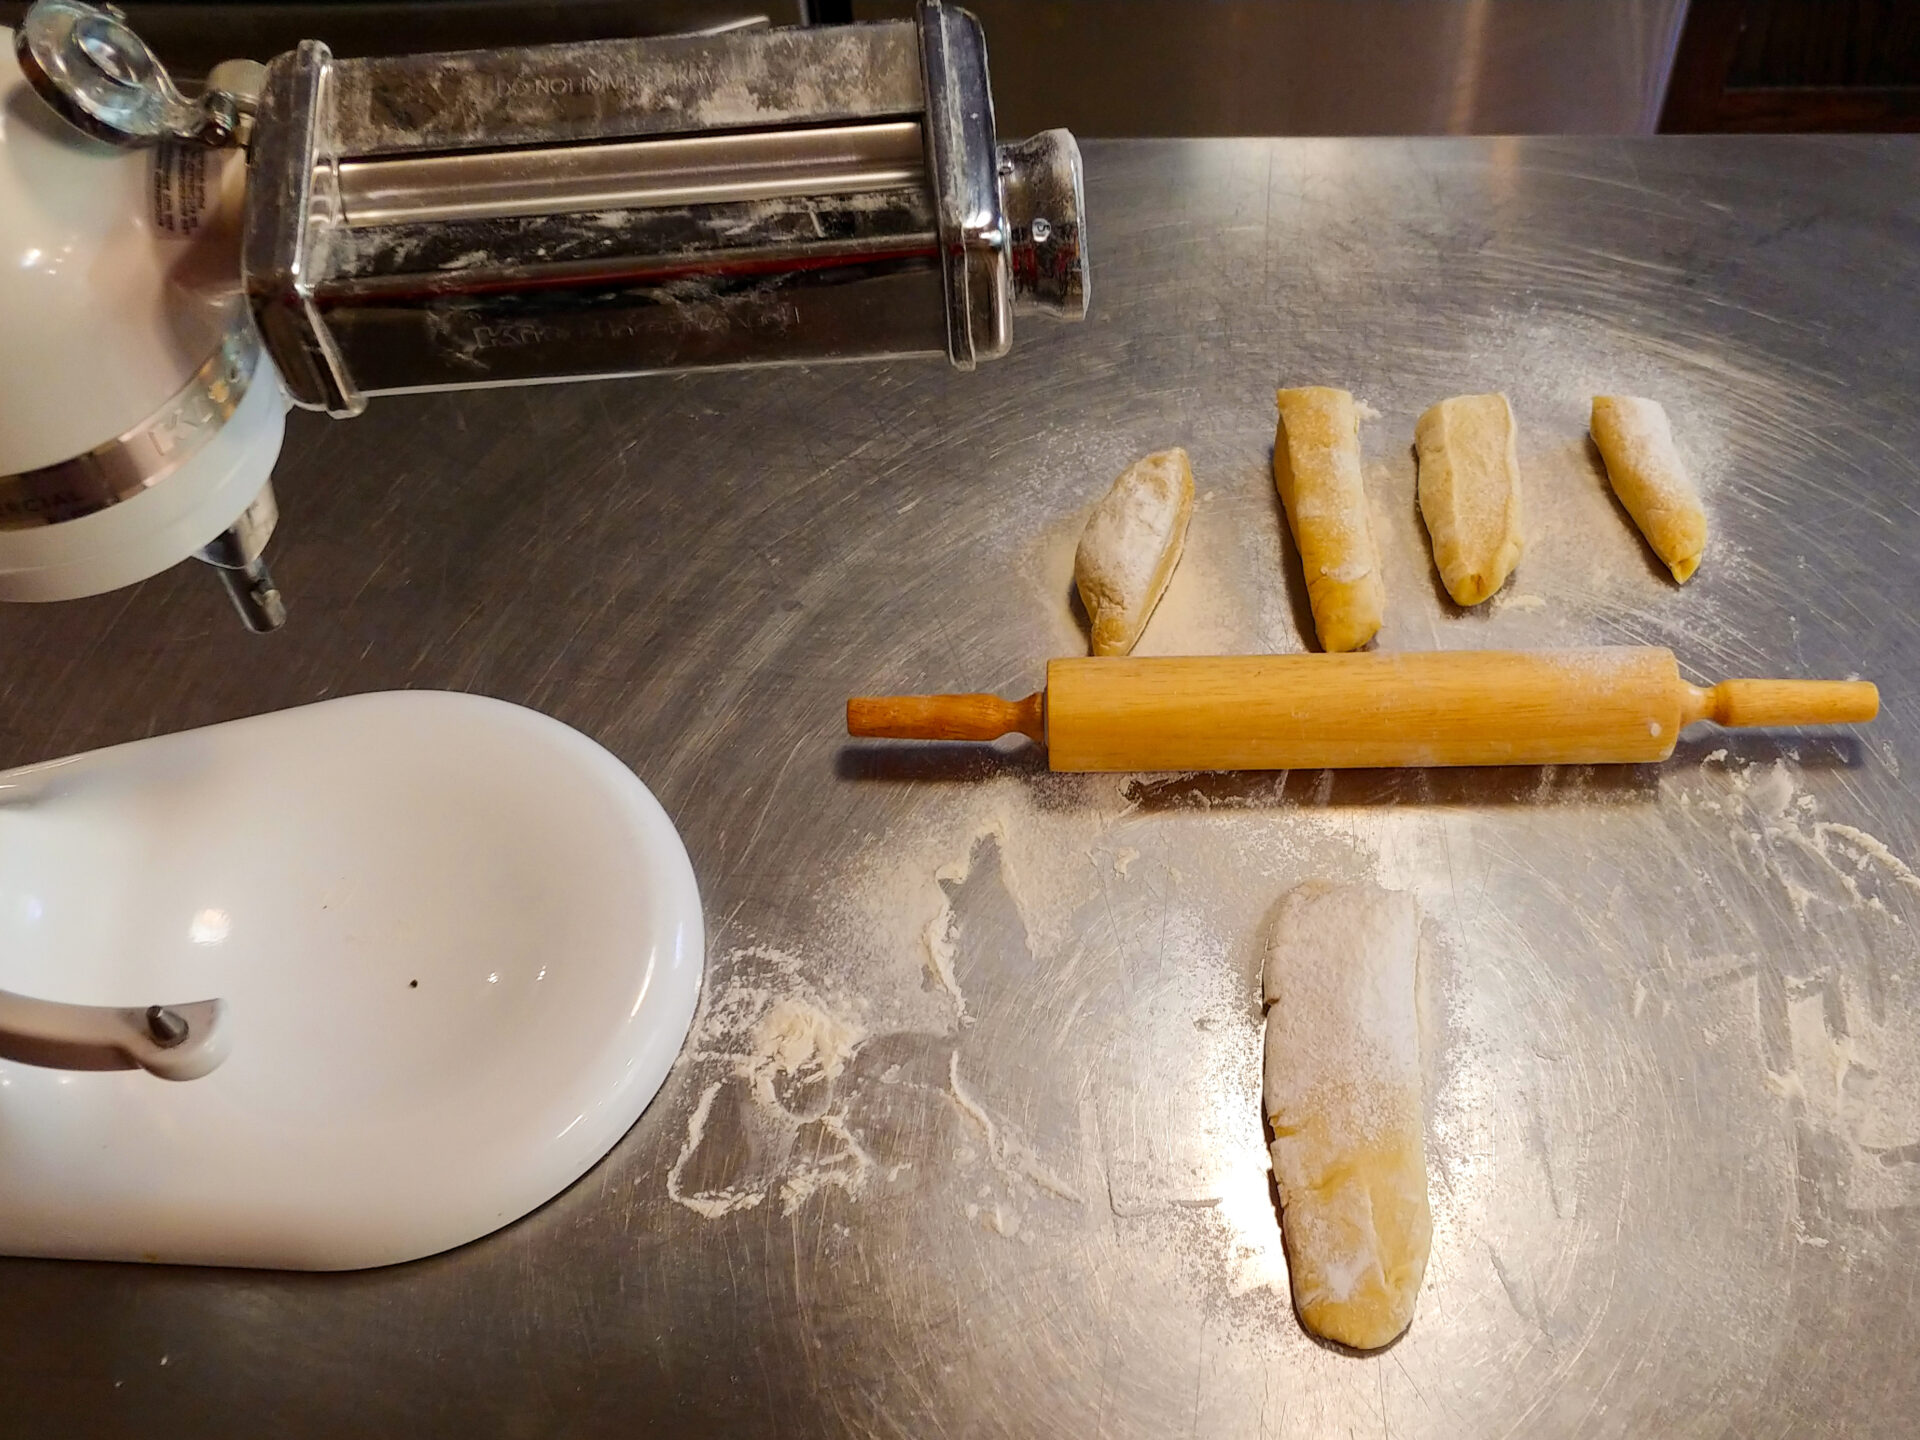
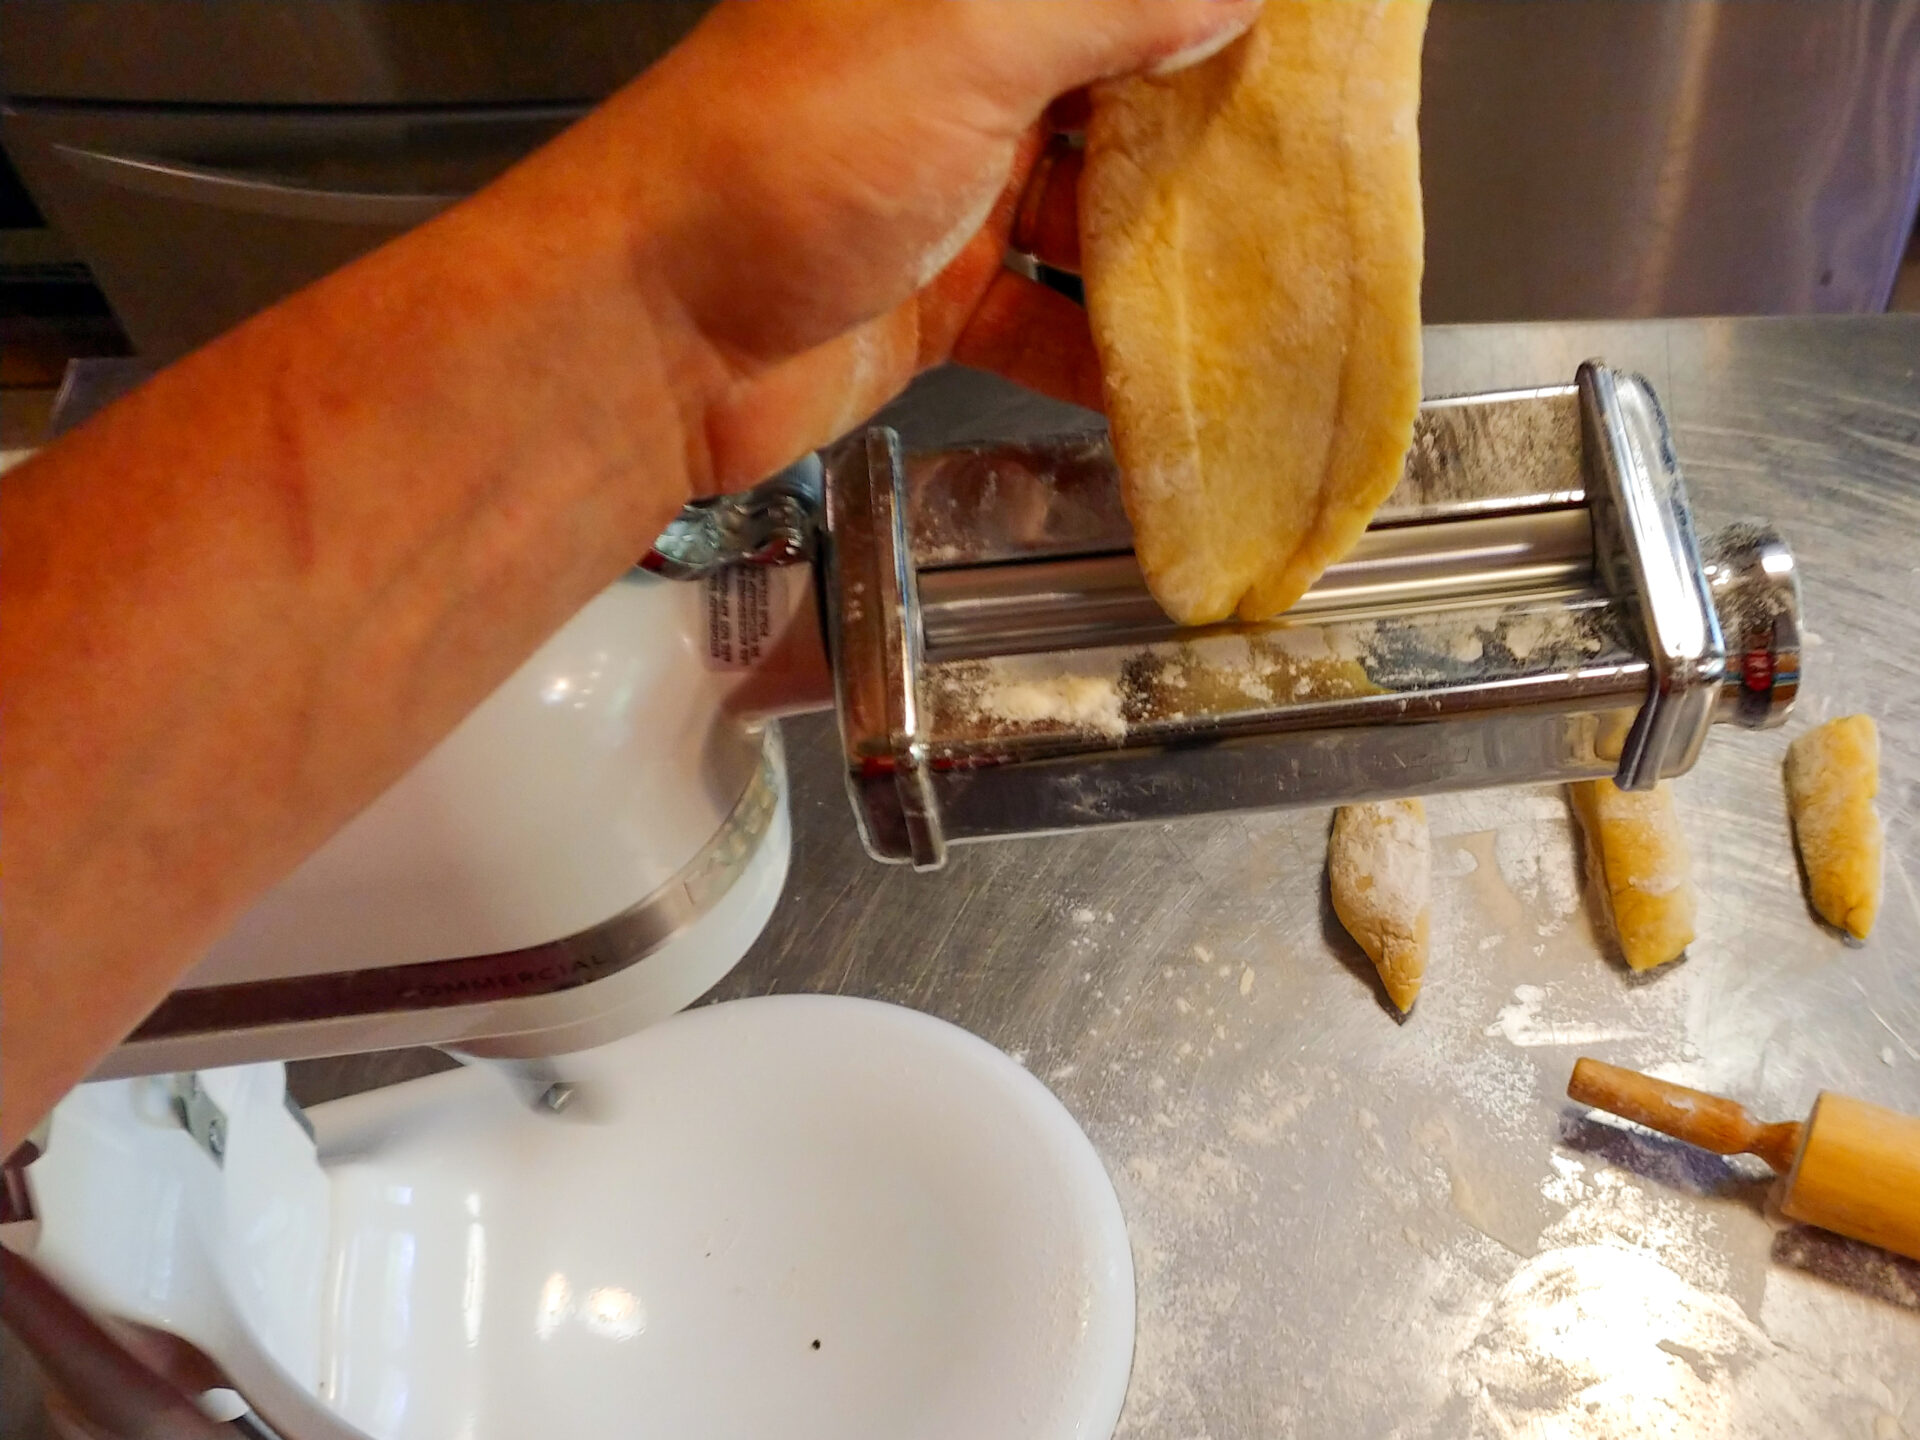
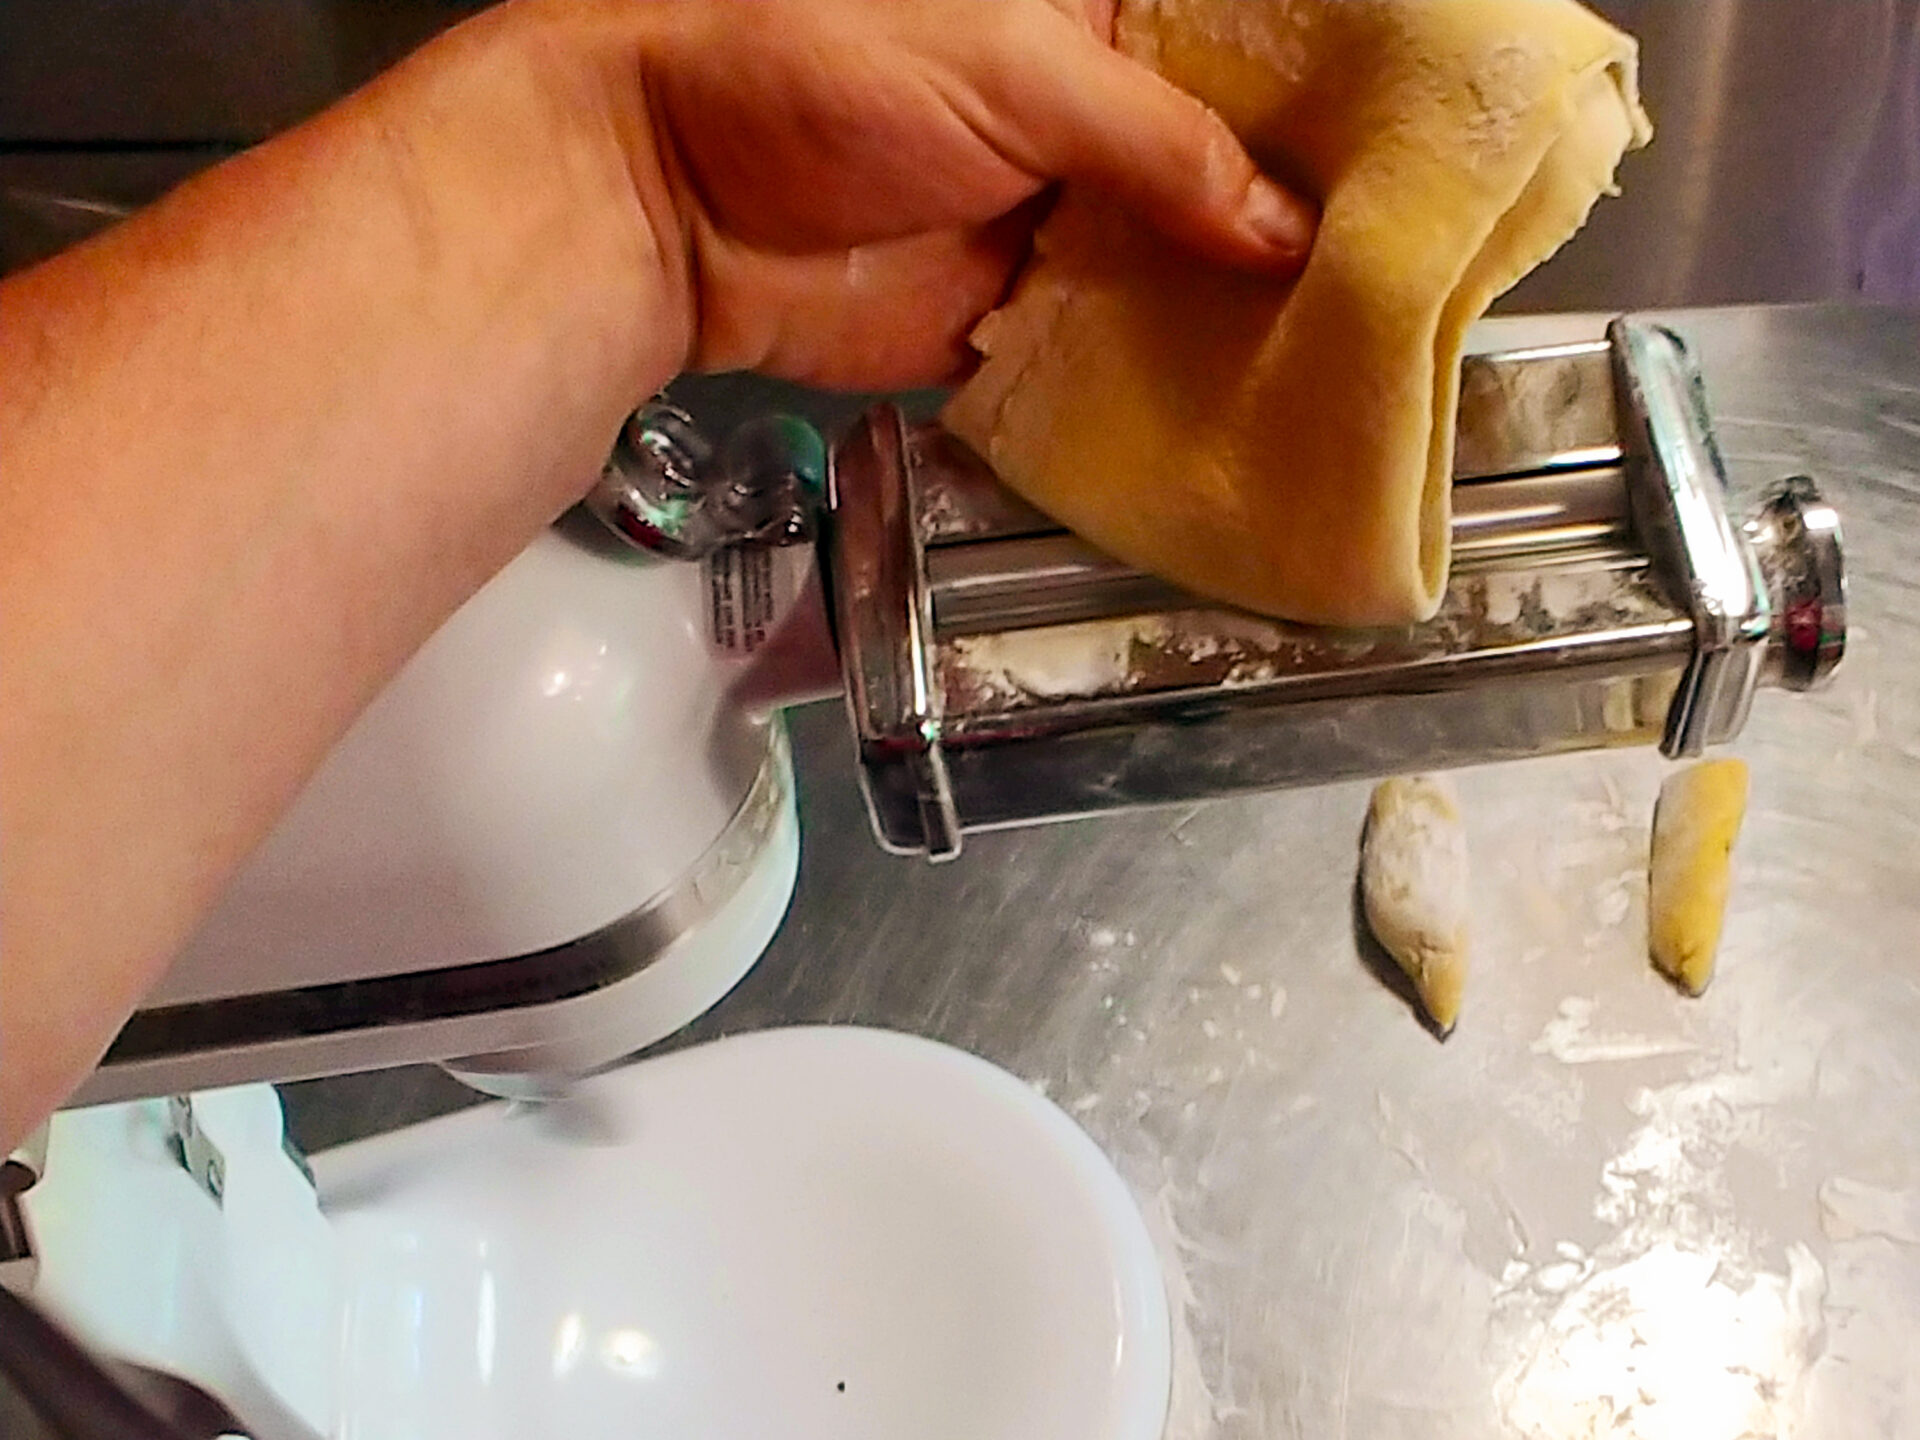
Read moreNote that this basic egg pasta recipe is a great and very tasty universal pasta recipe which works perfectly for all pasta shapes listed below and for many other kinds too. I have had great success in preparing any pasta meal using this dough, so I believe that having a slightly different dough for each kind of pasta is not necessary. However, you can still discover specific pasta dough recipes for certain pasta shapes.
Read less
Share
Click on the icons below to share "Title of the item to share"